A Solar Telescope
I've been looking at H-alpha filters for solar observing for ages. A friend of mine has a Coronado 90mm solar telescope with two of the magic filters (double stacked) and the views are really impressive. Far more to see than using a white light filter (like Baader solar film, or a Herschel wedge).
So I joined the Solarchatforum about a year ago and started reading... and reading... and asking enough questions to annoy people. Just kidding - they were all very polite! I've looked through a couple of Coronado PST scopes, and also a double stacked PST, so I had some idea of the two endpoints of the solar telescope range.
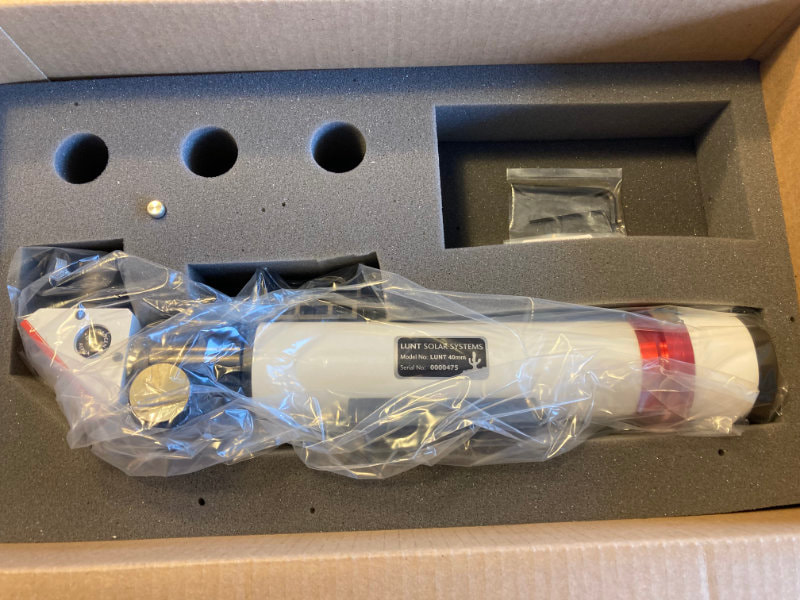
This spring, I determined that a Lunt LS40 was the right tool for the job. In its basic form, it is very similar to the PST in size and cost. It has a Vixen style dovetail on the bottom and a Televue solar finder on top. I ordered it with a larger blocking filter (B1200) and a Feathertouch focuser (instead of helical).
So I joined the Solarchatforum about a year ago and started reading... and reading... and asking enough questions to annoy people. Just kidding - they were all very polite! I've looked through a couple of Coronado PST scopes, and also a double stacked PST, so I had some idea of the two endpoints of the solar telescope range.
This spring, I determined that a Lunt LS40 was the right tool for the job. In its basic form, it is very similar to the PST in size and cost. It has a Vixen style dovetail on the bottom and a Televue solar finder on top. I ordered it with a larger blocking filter (B1200) and a Feathertouch focuser (instead of helical).
|
|
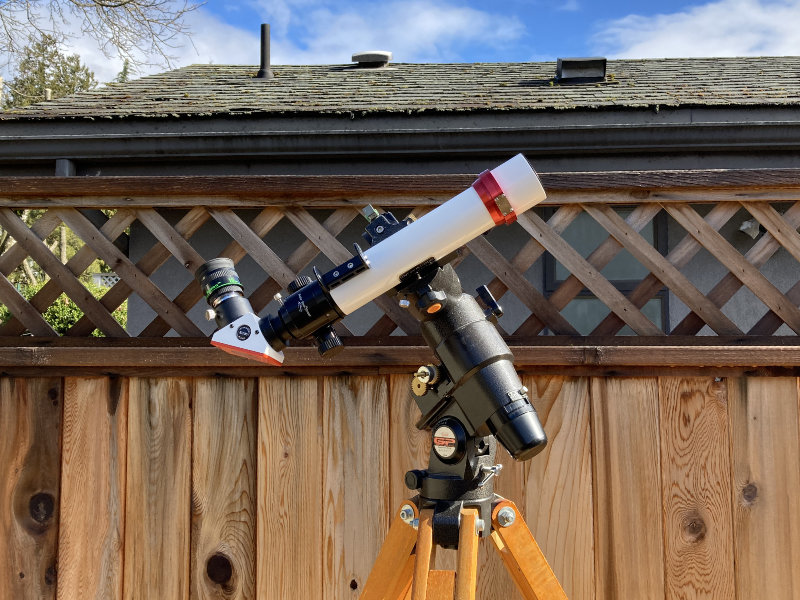
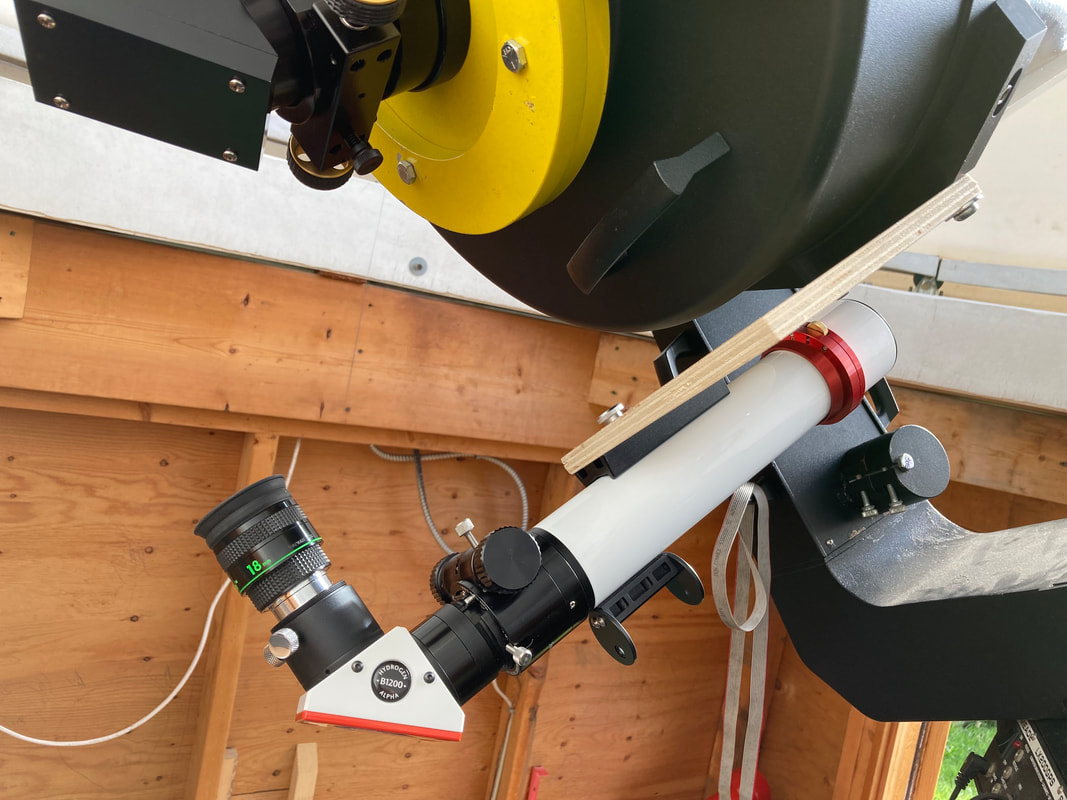
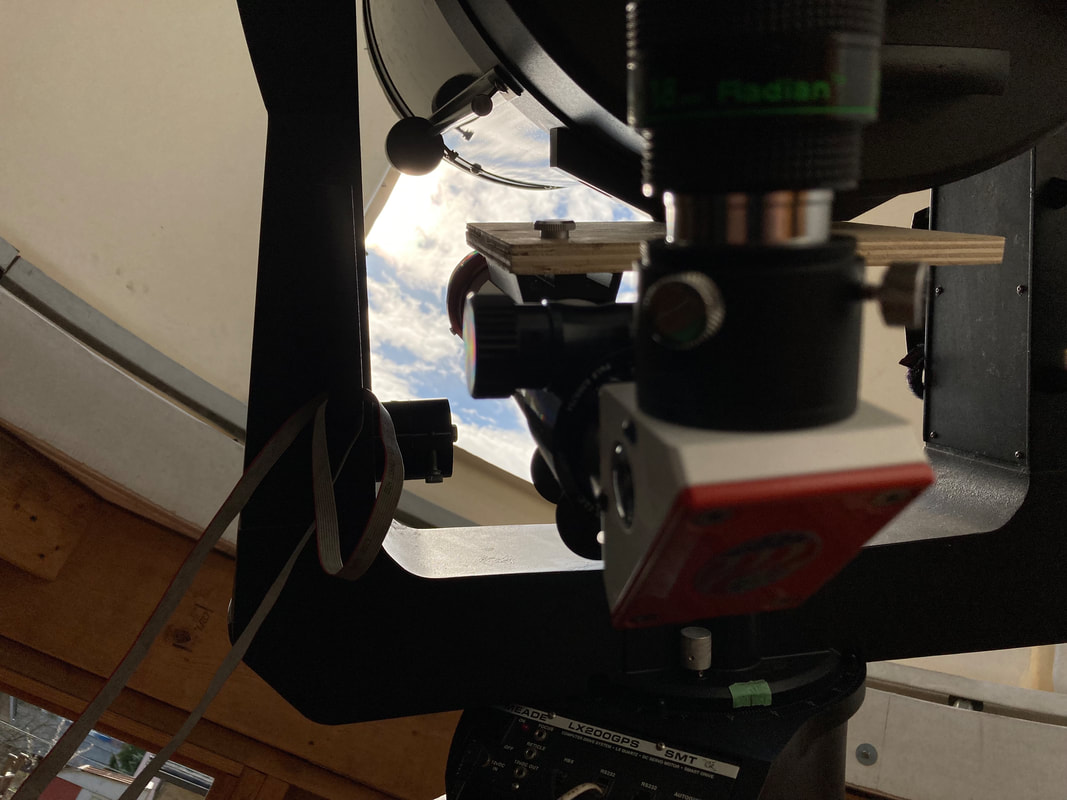
The scope works great! The view seems brighter than in a PST - I won't have a chance to do a side-by-side comparison for a couple of months yet. The dovetail is too far forward on the scope - it's really back-heavy, even without the 18mm radian. It might be better balanced when using the helical focuser. Might be an idea to get the longer dovetail (wasn't an option when I purchased) to move the scope forward, and also provide some extra weight towards the front of the scope.
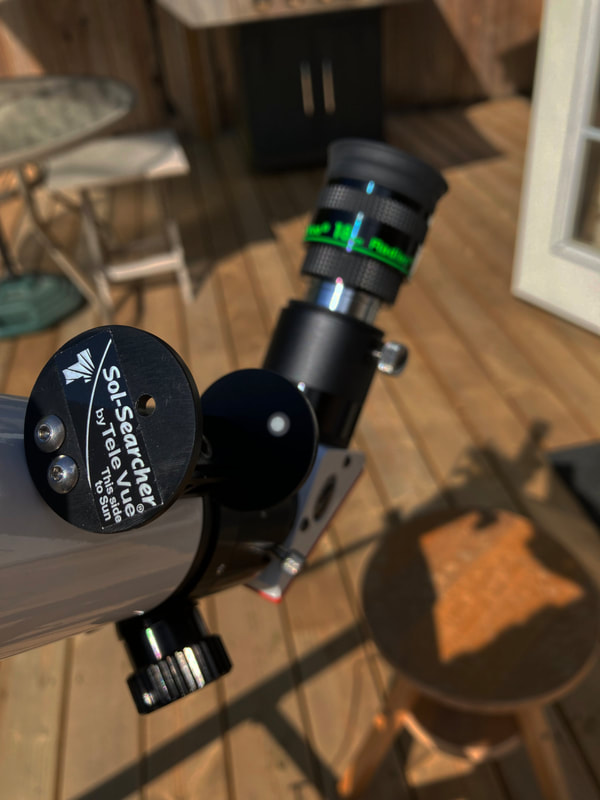
When it arrived the finder was not well aligned, but that took about 15 seconds to fix. Get the sun entered in the eyepiece, and then loosen the Allen screws to adjust the disks at each end of the Sol-Seracher. Each of the discs is plastic, so don't tighten the little screws too much.
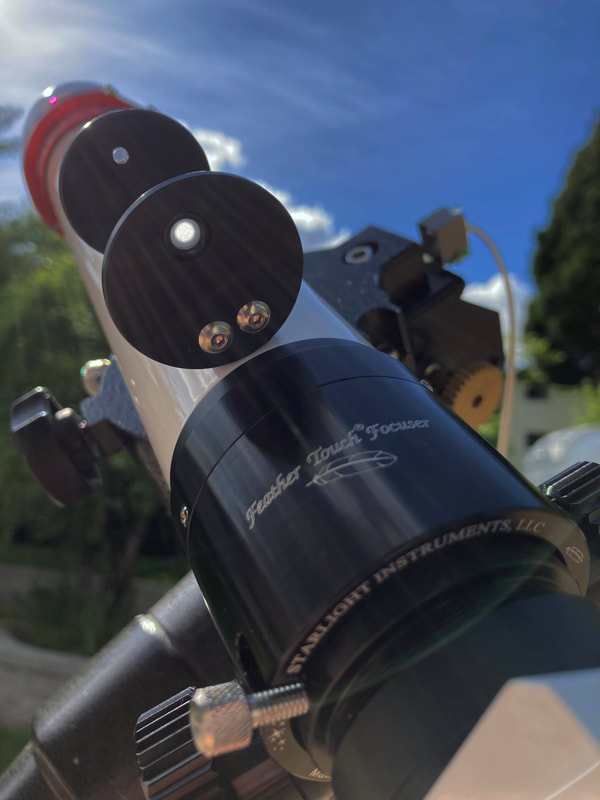
The B1200 makes it much easier to find the sun when the finder isn't aligned. You can see the eyepiece is sticking out the top of the diagonal/filter - this is to get things focused. The focuser only has about 1/2" of travel. Fortunately, the diagonal is covered in t-threads, so I can use some adapters to make things the right length and not have the diagonal pulled out of the focuser to reach focus.
When it arrived the finder was not well aligned, but that took about 15 seconds to fix. Get the sun entered in the eyepiece, and then loosen the Allen screws to adjust the disks at each end of the Sol-Seracher. Each of the discs is plastic, so don't tighten the little screws too much.
The B1200 makes it much easier to find the sun when the finder isn't aligned. You can see the eyepiece is sticking out the top of the diagonal/filter - this is to get things focused. The focuser only has about 1/2" of travel. Fortunately, the diagonal is covered in t-threads, so I can use some adapters to make things the right length and not have the diagonal pulled out of the focuser to reach focus.
|
|
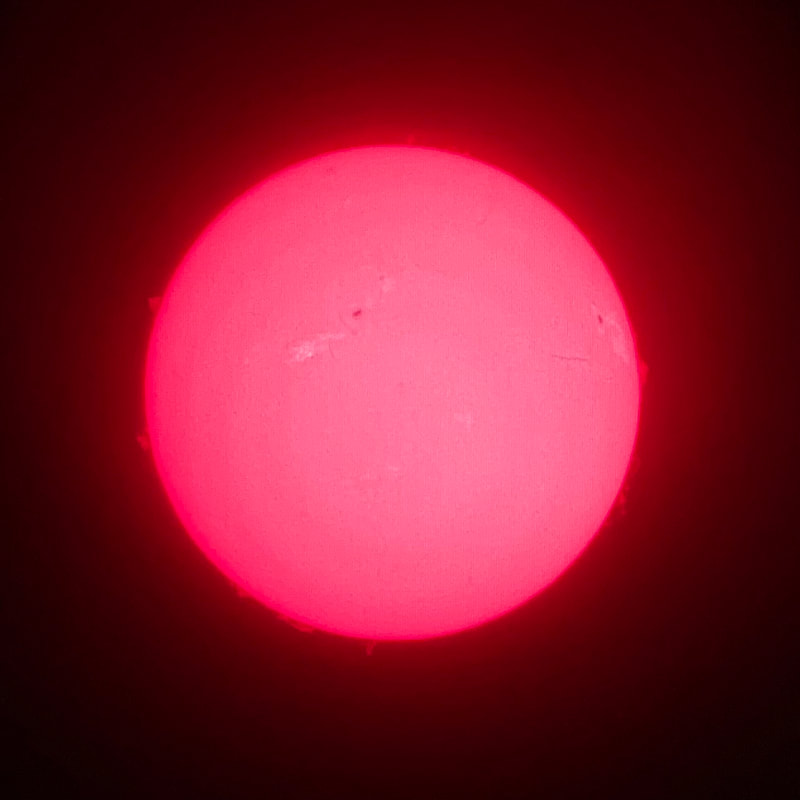
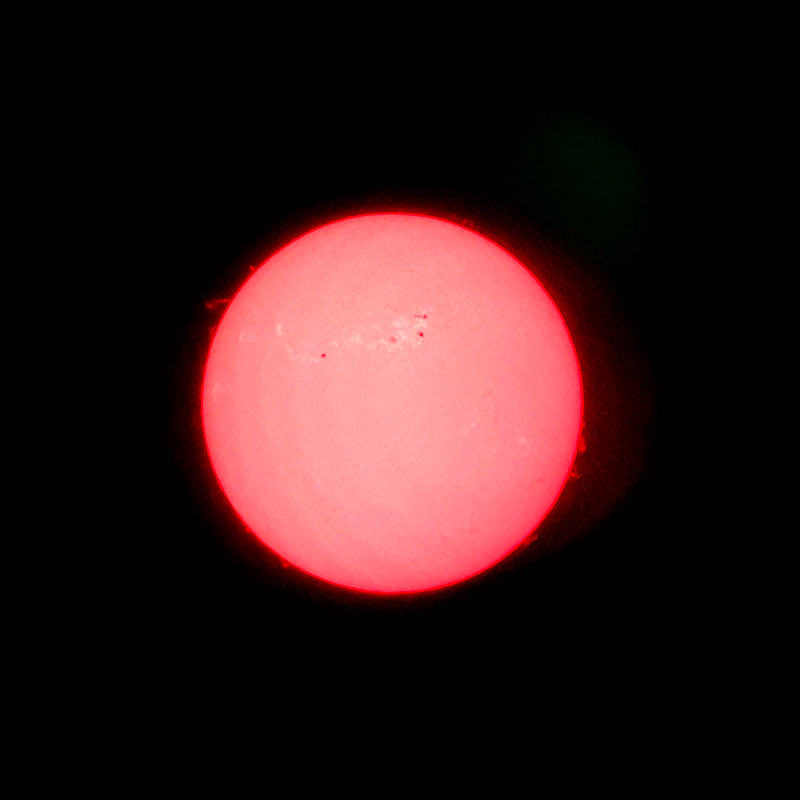
Here's a picture taken with an iPhone held up to the eyepiece on the second day. The picture on the right has been rotated and shadows and highlights adjusted.
|
|
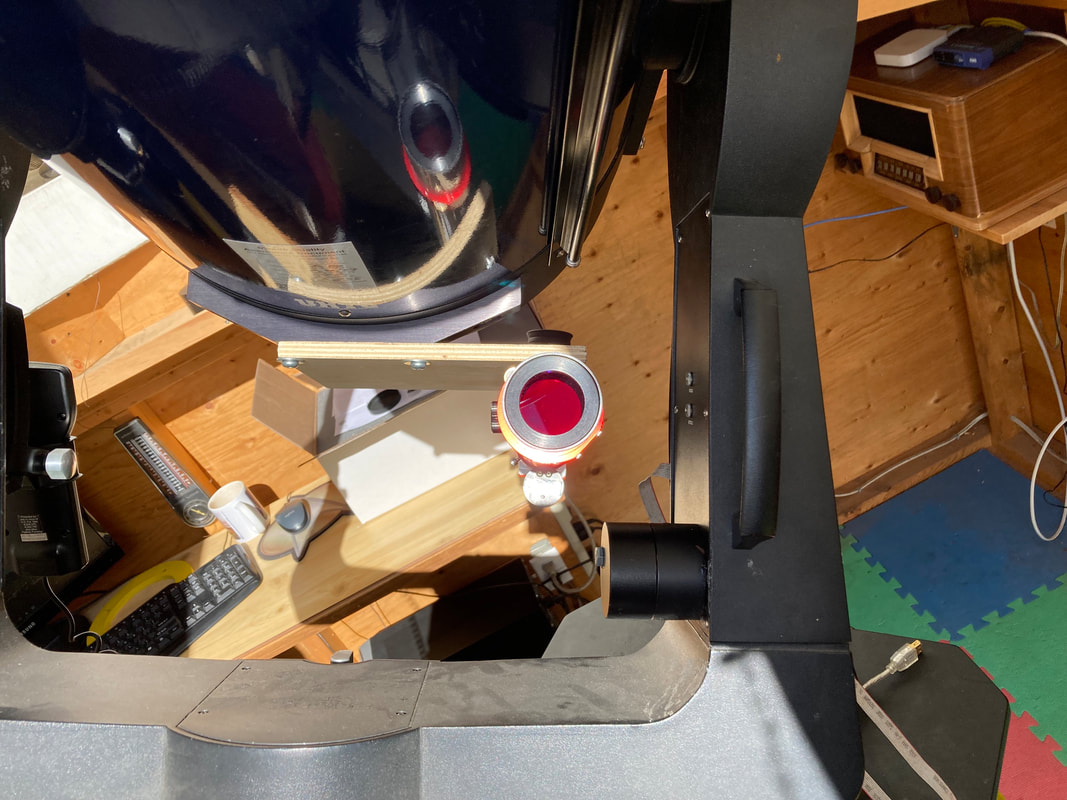
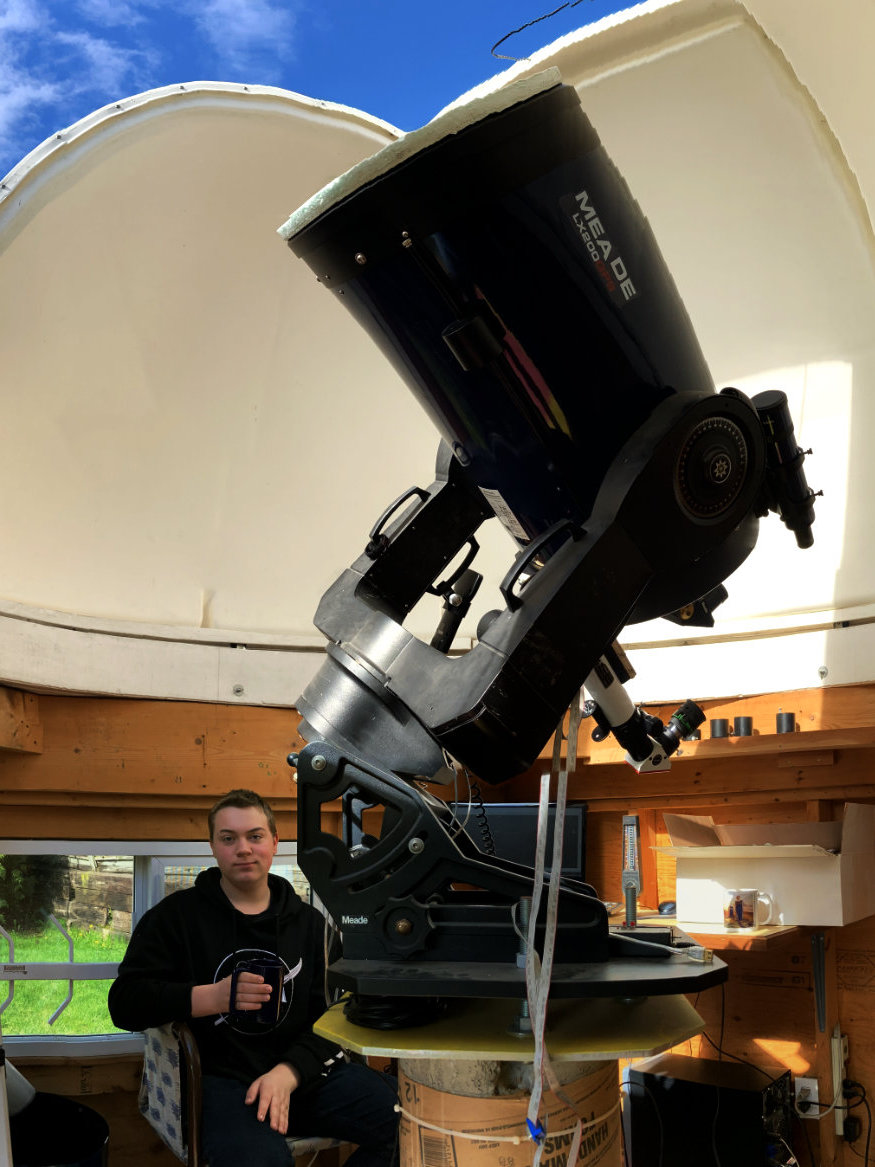
So now I have to get it mounted on the telescope in the dome. The GP mount I used doesn't have a motor drive, but is simple to use. The big scope in the dome will track the sun and provide some shade.
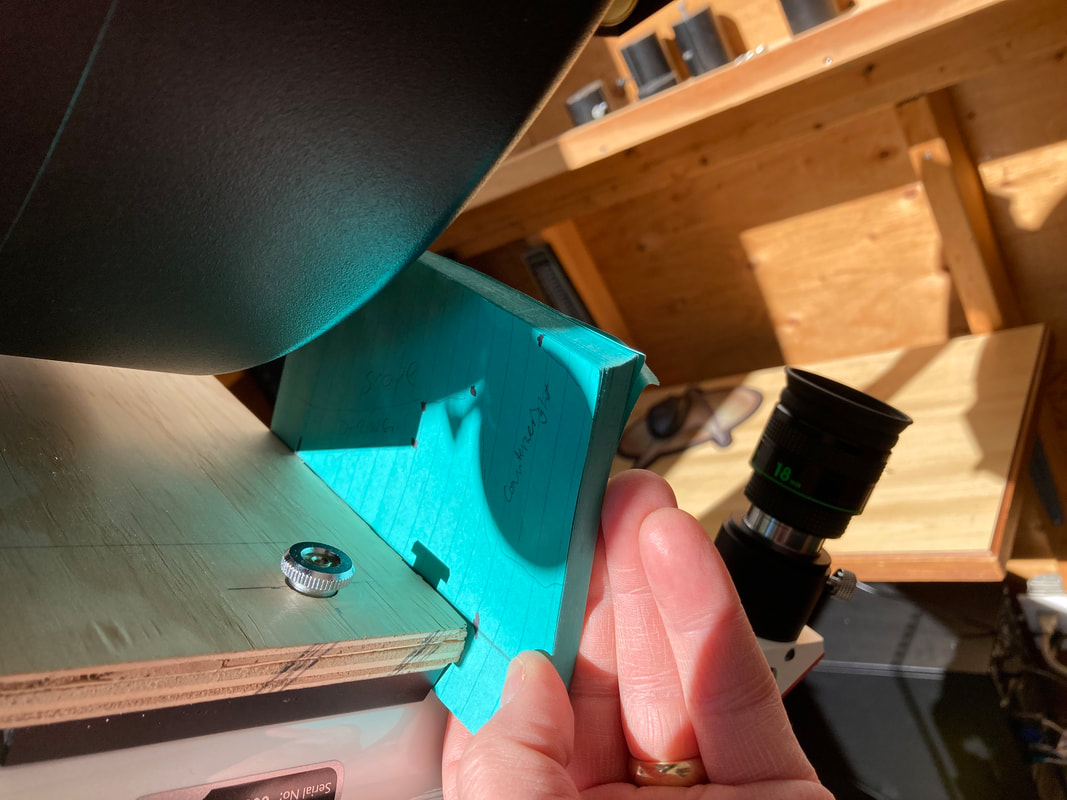
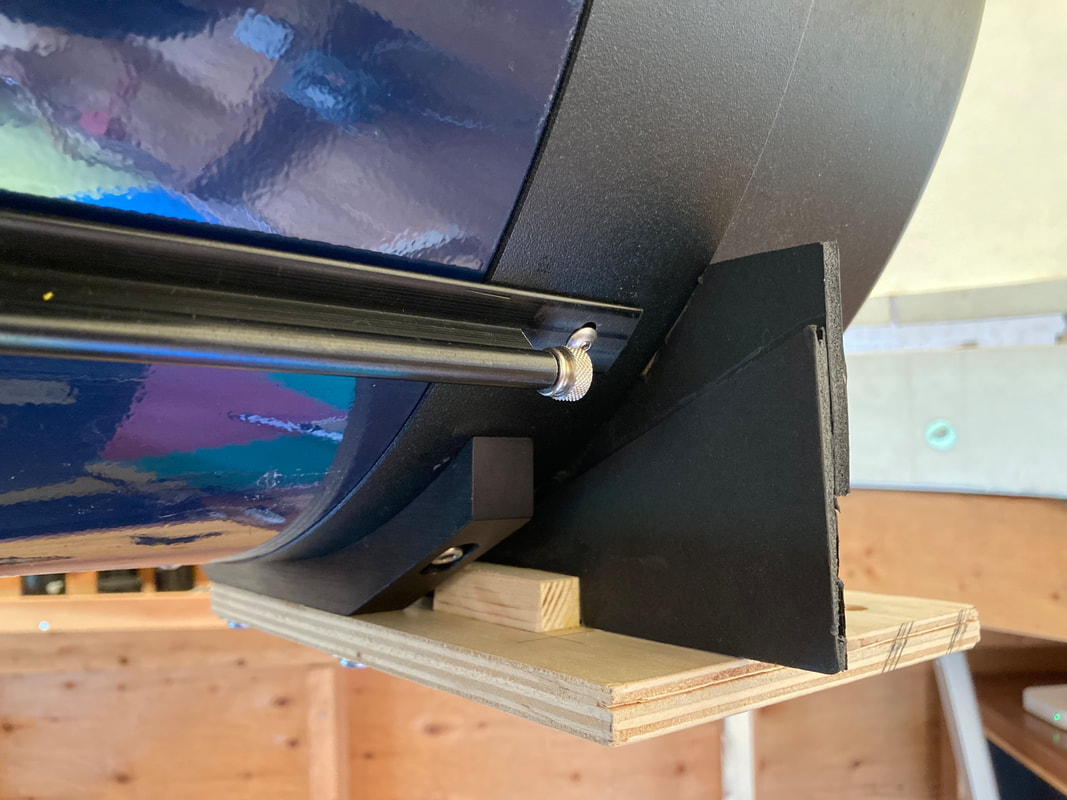
A 1/2" piece of plywood with a few holes in the right place will get things close. I have to mount the solar scope far enough back that I can see through the eyepiece without hitting my head on anything attached to the big scope. Plywood is good enough for a prototype. The final version will be 1/4" or 3/8" aluminium plate.
A 1/2" piece of plywood with a few holes in the right place will get things close. I have to mount the solar scope far enough back that I can see through the eyepiece without hitting my head on anything attached to the big scope. Plywood is good enough for a prototype. The final version will be 1/4" or 3/8" aluminium plate.
|
|
|
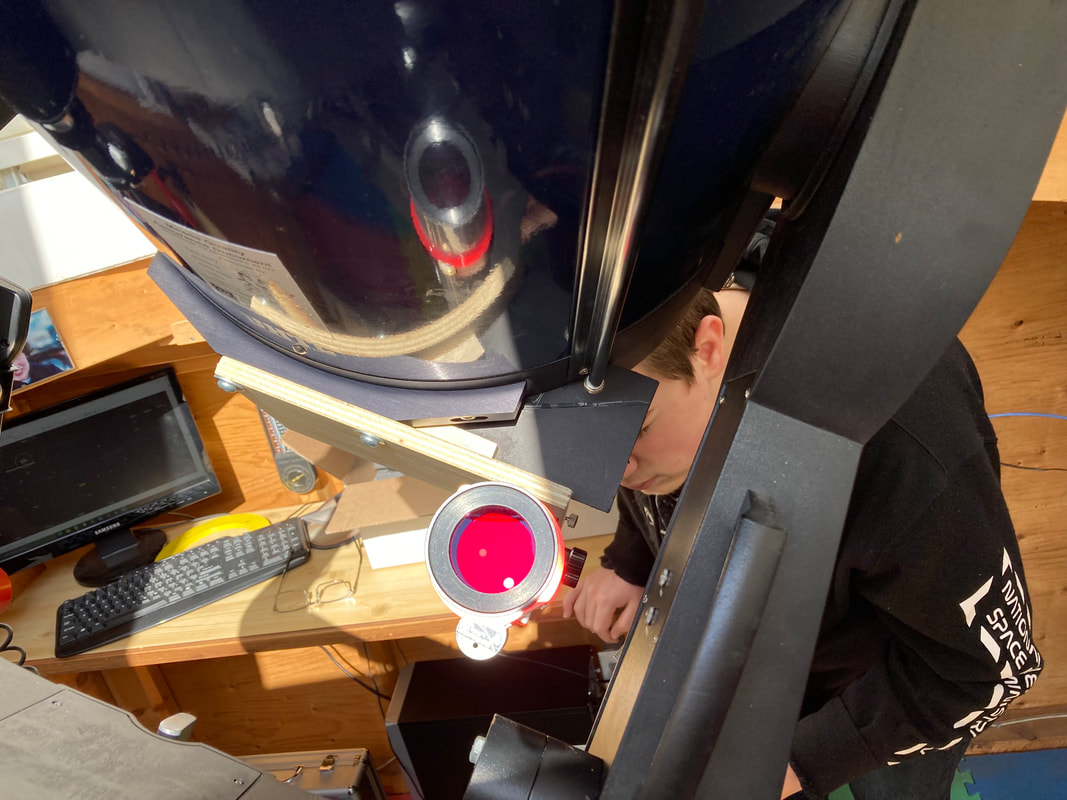
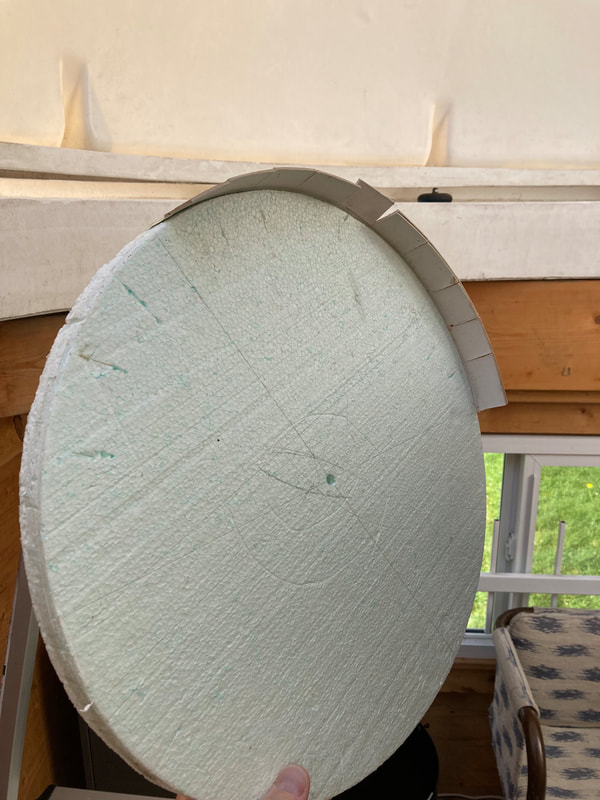
Some people drape a black cloth or towel over their head, others use a big floppy hat. Most of the sunlight is blocked by the 14" scope, so I just have to block out the rest of the sunlight around the edges. 1/4" foam core and some glue does the trick. Use the edge of the dome to block whatever is left.
|
|
|
There's also a foam disc to cover the front of the big scope to keep it from heating up in the direct sunlight. I'm not sure it's really necessary - I measured the temperature of the front of the fork arms after an hour of looking at the sun and they were only 30 celsius.
Now we wait for another break in the clouds.
Now we wait for another break in the clouds.
|
|
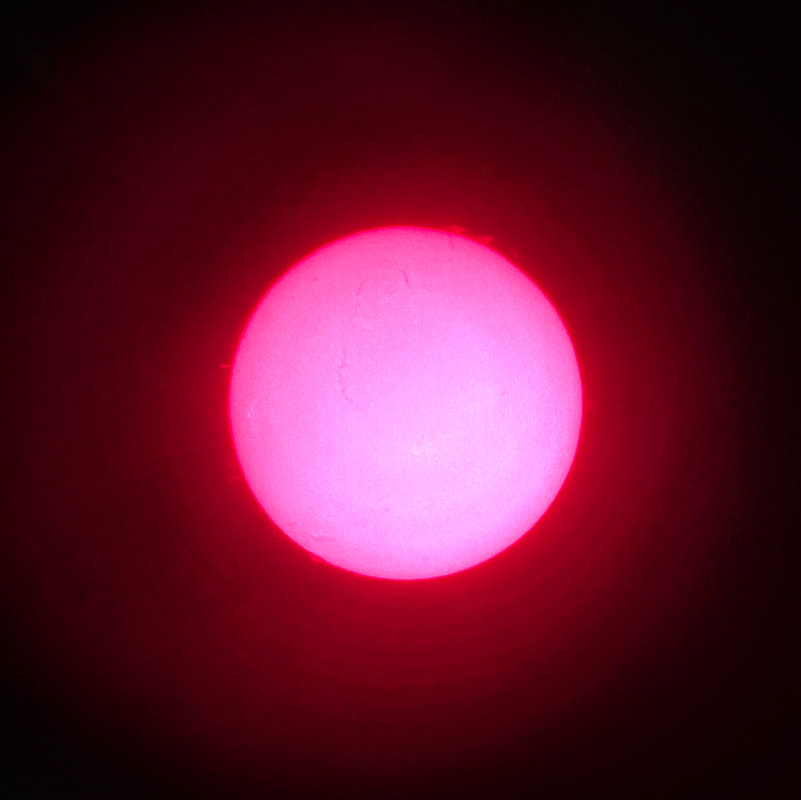
An iPhone isn't really the best tool for the job, but it's what I've got. Can't control the white balance in the phone, and it's also limited in the exposure adjustment. So the colours come out odd.
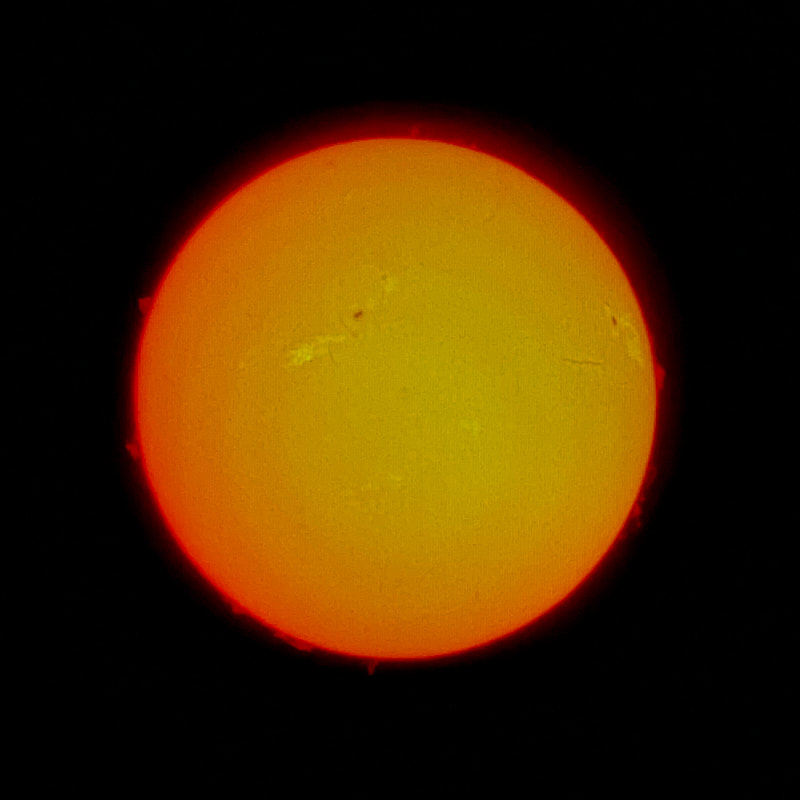
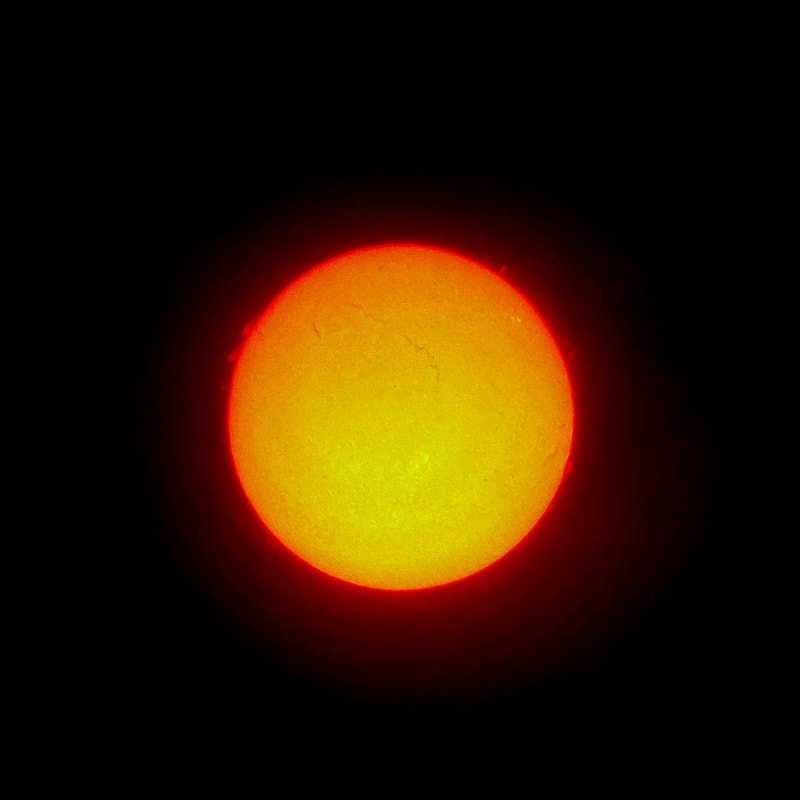
The picture on the left is just moving the shadows and highlights around to get some detail. The contrast between the disk and the prominences around the edge is really interesting. On the right is the same picture, rotated to match NSO GONG images, and with a more traditional colouring.
There's some stripes in the image, which come from the camera. The light we're looking at is deep red (656 nm), like the red from a HeNe laser. Nothing else gets through the telescope filters, so the green and blue pixels see nothing, except for what leaks through the RGB filters on the camera chip. When the pixels get converted into a picture on the camera, the software estimates the colours in between. But that calculation is based on every day pictures, not monochromatic solar pictures.
|
|
For most of my observing, I've been using a Televue Radian eyepiece (18mm). It has much more eye relief (distance from your eyeball to the eyepiece) than all the various Plossls and super Plossls that I have. This gives about 22x magnification. I have tried the rest of my eyepieces to see what the magnification is like, and it seems like 30x is about the limit for getting a little more detail and still seeing the entire disk.
The Radians have a plastic mask that goes at the eye end of the eyepiece, to act as a guide to where the exit pupil is. I don't normally use this, but in the daytime, the mask is good at reducing stray light bouncing off last lens in the eyepiece. It's also helpful when taking pictures with the phone.
Here's one more, with less extreme colouring on the disk. That's about as good as I can get with a single picture from the phone.
A few months later, I bought an ASI174 camera. I wanted a larger pixel size (5.86 um) because it will also be used for auto guiding on the 14" scope and want to maintain a good FOV to find guide stars.
When plugged directly into the LS40, the entire sun fits on the sensor. I usually crop to 800x800 pixels. For better sampling, I use an inexpensive Barlow (with dust spots). With the Barlow, I need to take two images to cover the entire sun. I use ASICap (came with the camera) and Registax to process the raw images. Then I use Affinity Photo to put them together as a panorama, and then crop to 1600x1600 pixels.
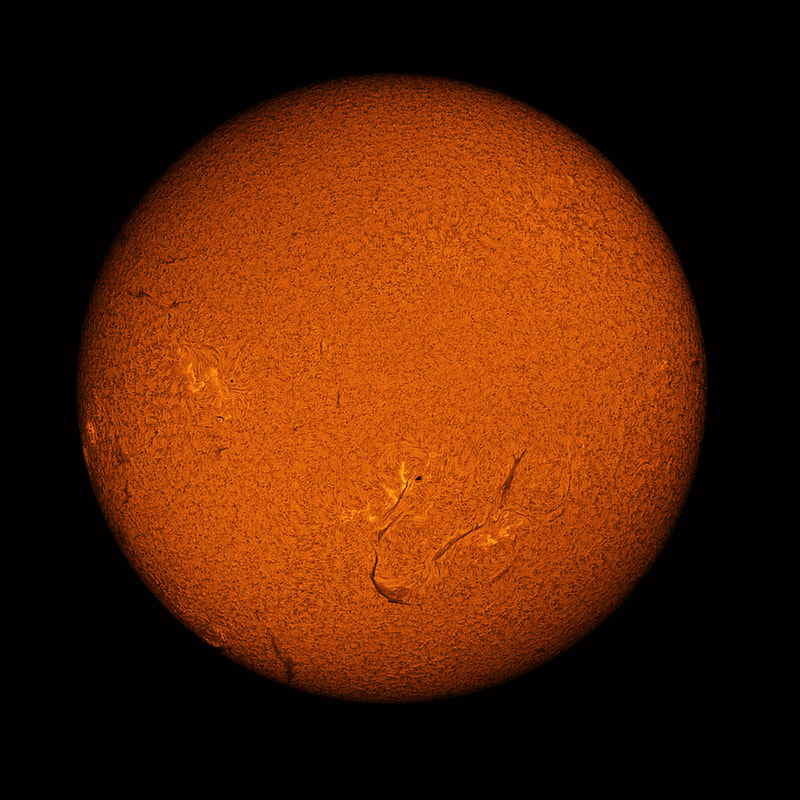
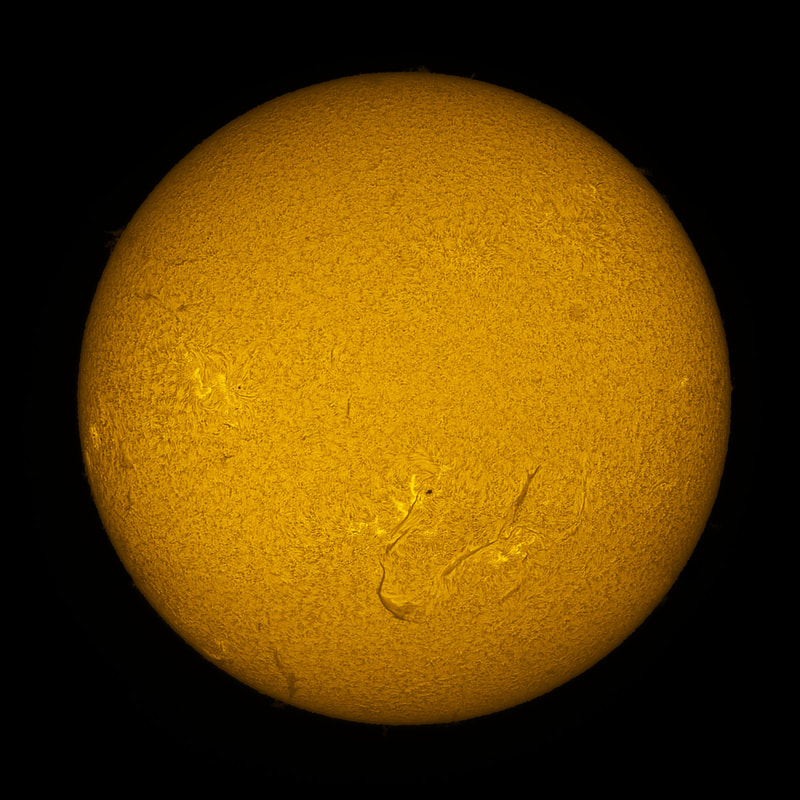
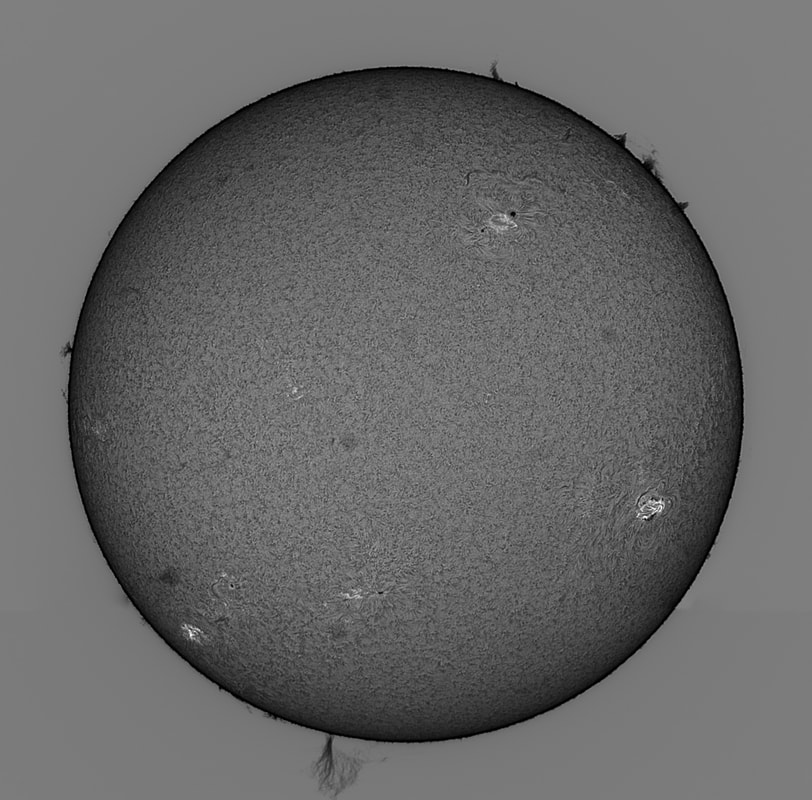
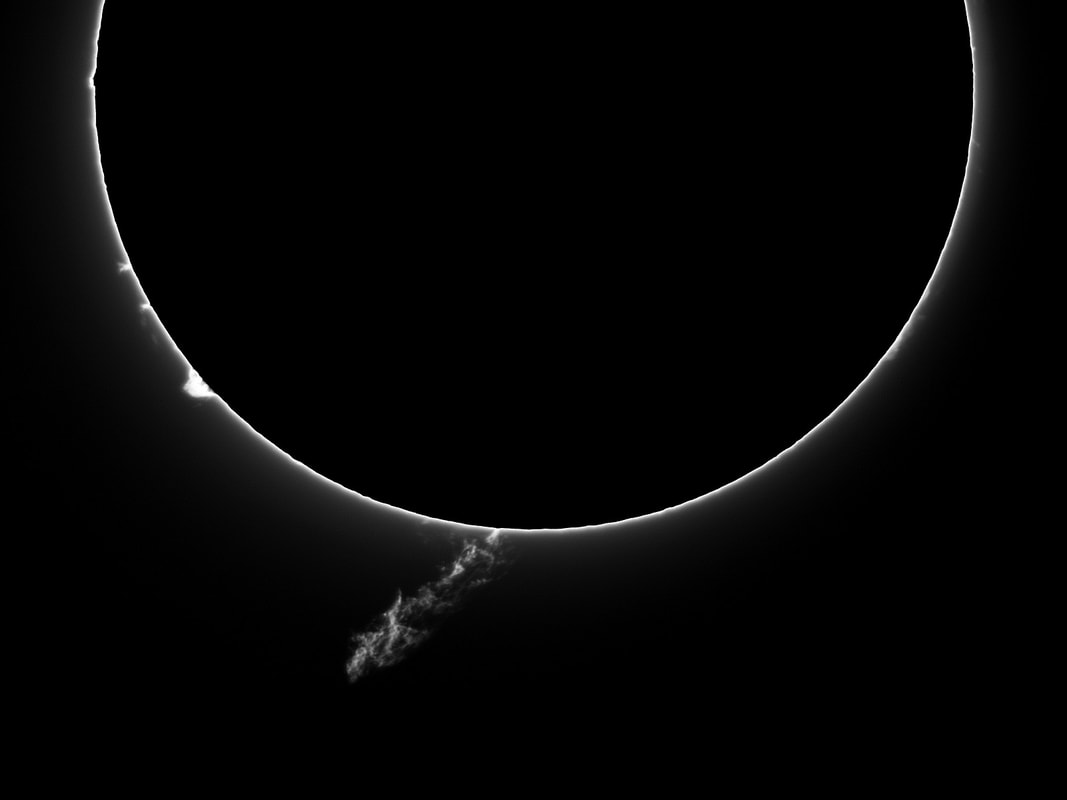
In the following picture, the space around the sun has been inverted to better show the prominences.
When plugged directly into the LS40, the entire sun fits on the sensor. I usually crop to 800x800 pixels. For better sampling, I use an inexpensive Barlow (with dust spots). With the Barlow, I need to take two images to cover the entire sun. I use ASICap (came with the camera) and Registax to process the raw images. Then I use Affinity Photo to put them together as a panorama, and then crop to 1600x1600 pixels.
In the following picture, the space around the sun has been inverted to better show the prominences.
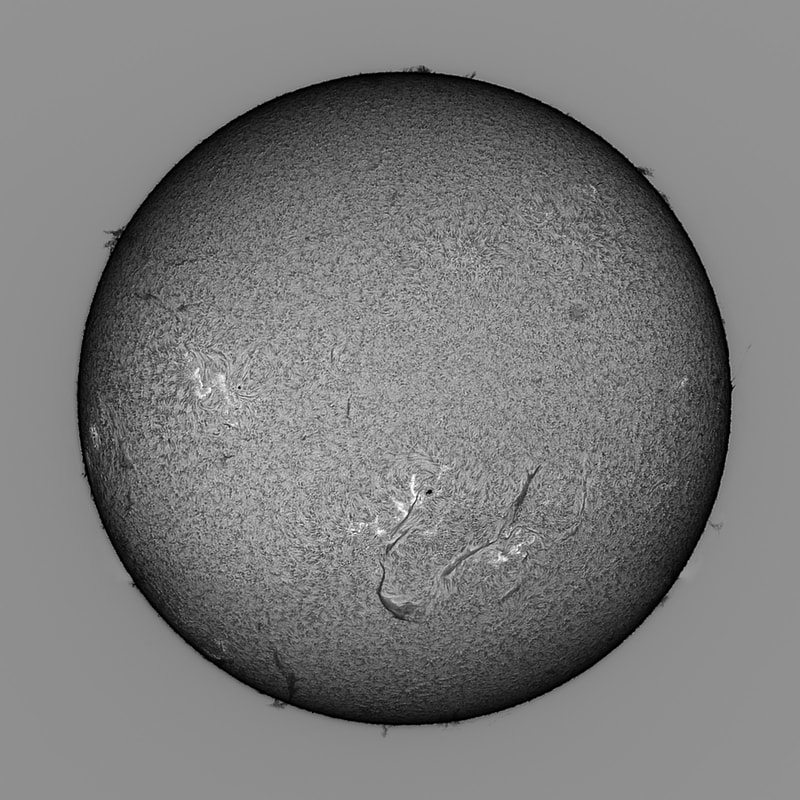
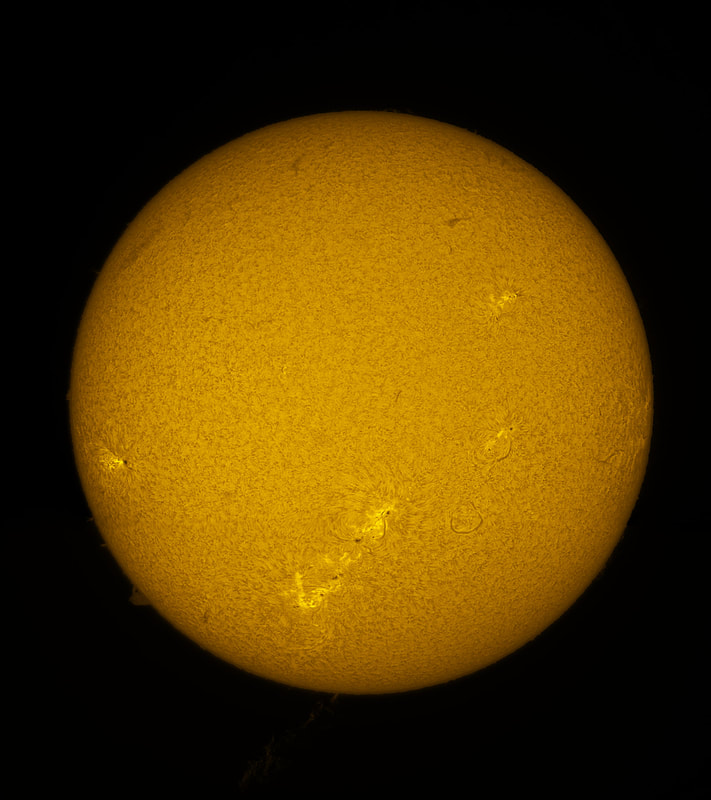
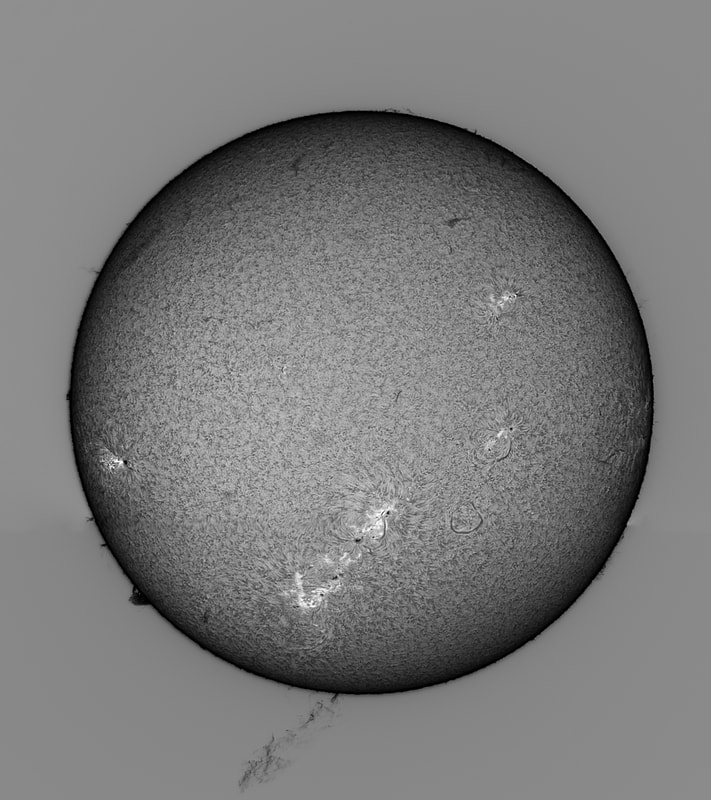
Here it is, on the left, with more traditional colouring - more like the red colour you see in the eyepiece. And on the right with a more orange/yellow colouring.
|
|
Here's a nice prominence on the south edge of the disk.
|
|
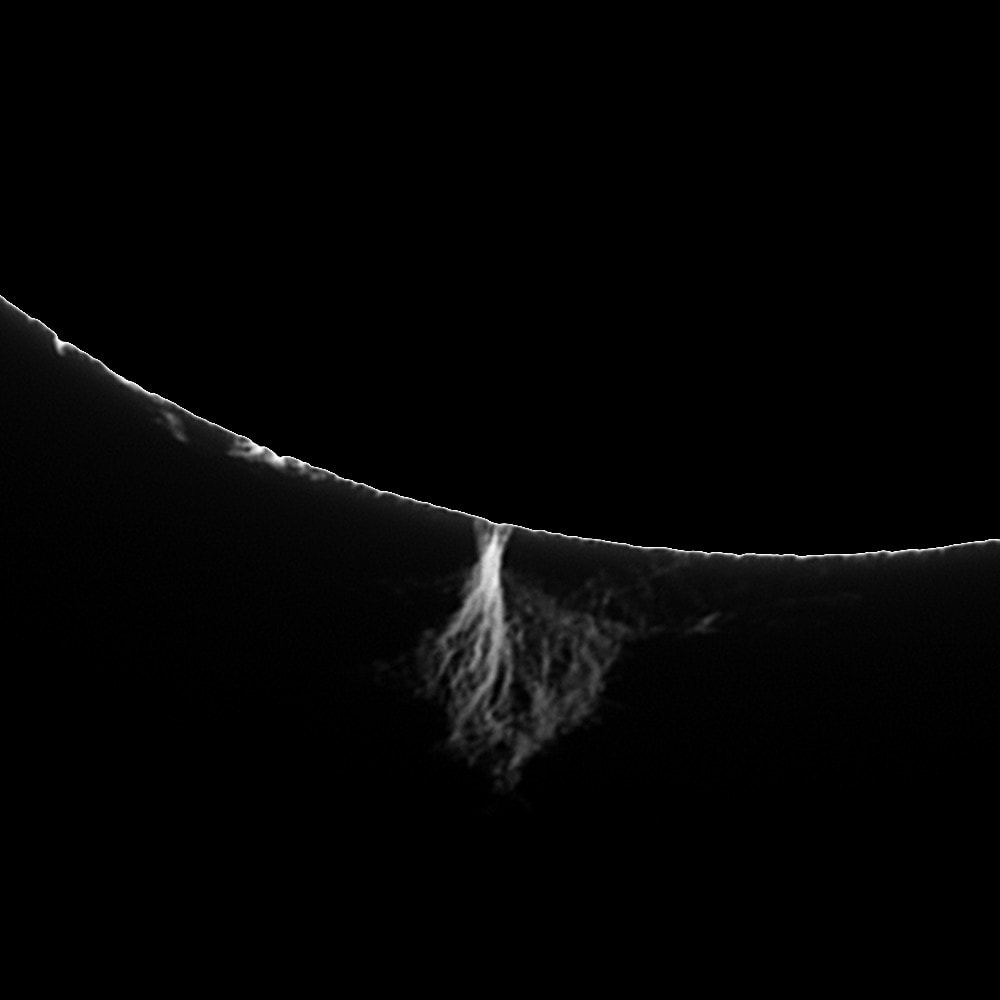
And one more big prominence.
|
|
Too much fun !
