Hyperstar - Speed up your telescope!
|
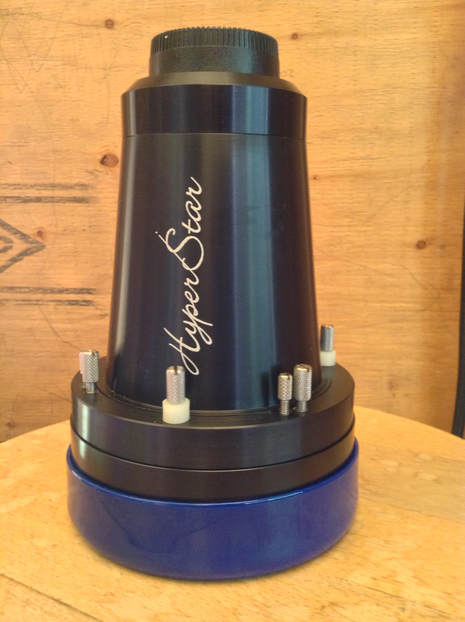
This is a corrector lens made to replace the secondary mirror on a typical Schmidt Cassegrain telescope. I heard of this system several years ago and thought the idea was a bit suspect - hanging all that weight off the front of the corrector plate. Then a friend of mine suggested it would be really fun. So I kept my eyes on the usual telescope sites and found a used one for a great price.
Most of this page is about installing and balancing the system once the lens and camera are installed. It's not as bad as it looks. The lens and camera might weight about 3 or 4 kg. |
|
|
Here's a series of pictures showing the installation of the Hyperstar. I removed the allen screws and replaced them with the longer thumb screws that came with the Hyperstar. No more tools required for this step. Please ignore the dust on the corrector plate. Install the camera on the end of the Hyperstar. Undo the thumb screws on the Hyperstar so it is readily accessible. Undo the thumb screws and remove the secondary mirror, replace it with the Hyperstar. Install the secondary in the holder that came with the Hyperstar. It is deep enough to protect the secondary mirror. In the first picture, you can see the thumb screws, which hold the secondary mirror on the telescope and the smaller Allen screws which are used to tip/tilt the secondary for optical alignment. In the last picture, you can see 3 different kinds of screwws. The tall thumbscrews with the white washers can be loosened to rotate the camera. The short screws hold the Hyperstar on the corrector plate. The medium screws are for optical alignemnt. |
|
|
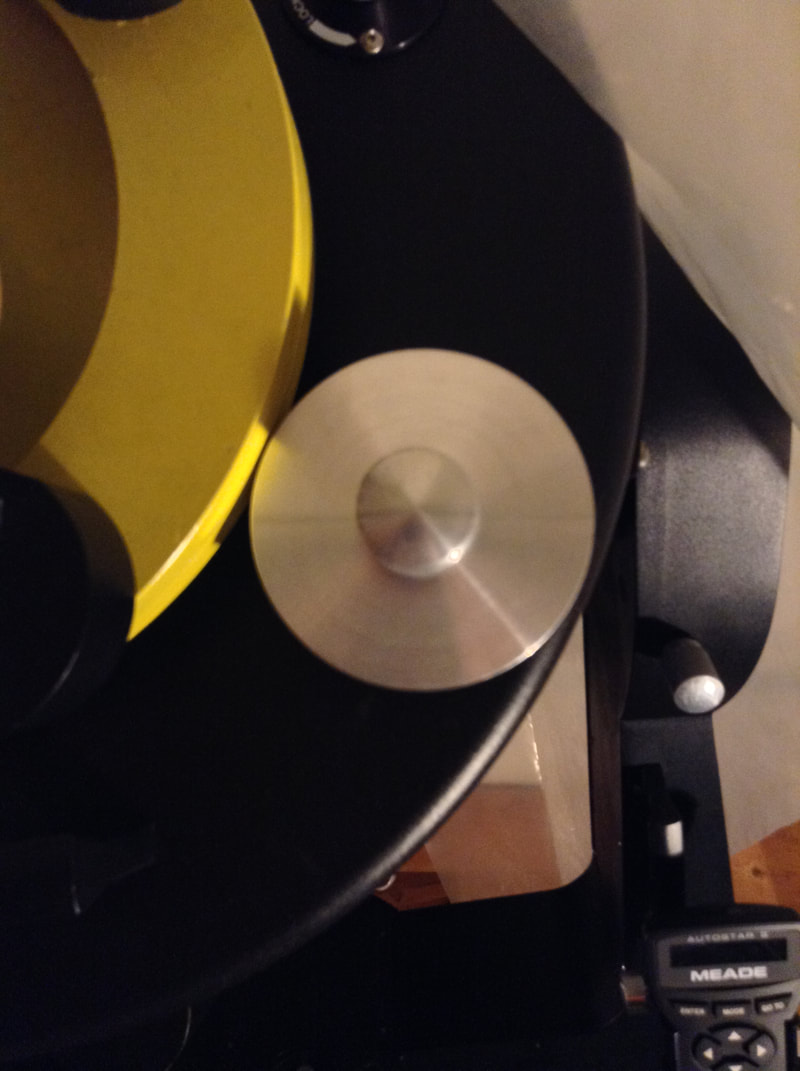
All this puts extra weight at the front of the telescope - more than what the dew shield wighed. So I need to add more counter weights to the back of the telescope. One on the top, another on the bottom, and a bunch around the focuser that were there to balance the dew shield.
|
|
|
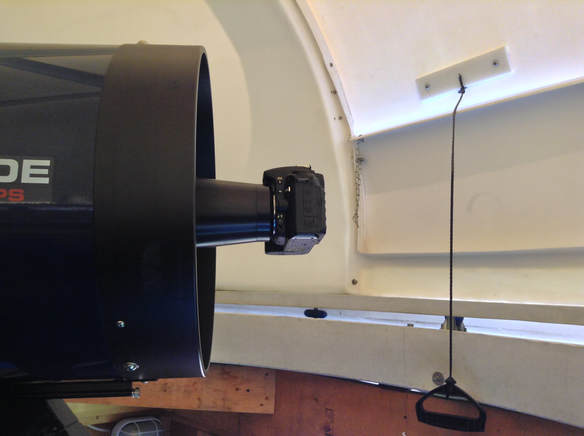
The Hypstar with the camera doesn't stick out as much as you'd think. But it's still a good idea to move slowly around the front of the telescope. The whole process took less than 10 minutes.
Next steps are connect a wire to the camera so I can take pictures from the computer, and get the Hyperstar aligned/collimated. |
|
|
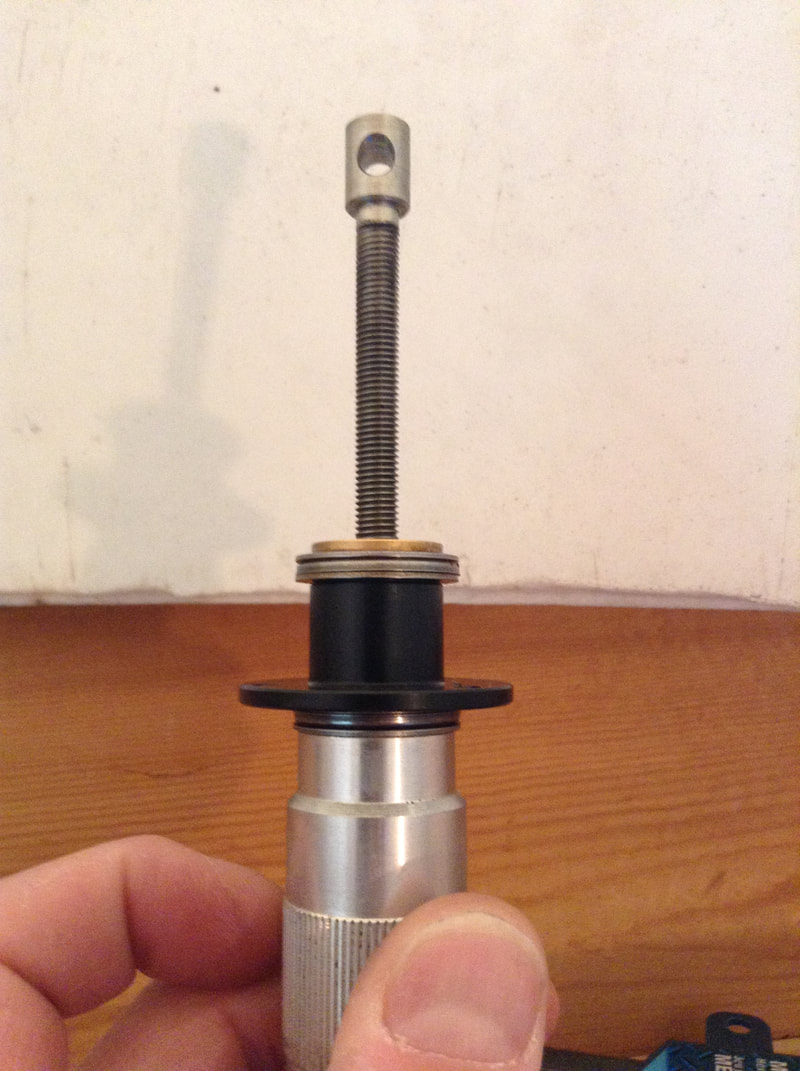
I removed the SCT focuser to see if there was a way to add a bracket for a motor, and I discovered it had been assembled incorrectly. There's two thrust bearings and they were both on the same side of the flange that holds it on the back of the telescope tube. So I took it apart and reassembled it the correct way - one bearing on each side. It's much smoother now.
|
|
I made a larger focus knob so it would be easier to move in small amounts. The depth of focus is only a few microns at f/2. The Hyperstar is not quite diffraction limited - the spot size is still smaller than the camera pixels - so depth of focus is acutally closer to 30 microns in practice. This amounts to a couple of degrees of rotation when adjusting the focus, so a larger knob will definitely help. Eventually, I'll print a clock dial so I know how far I moved it.
|

|
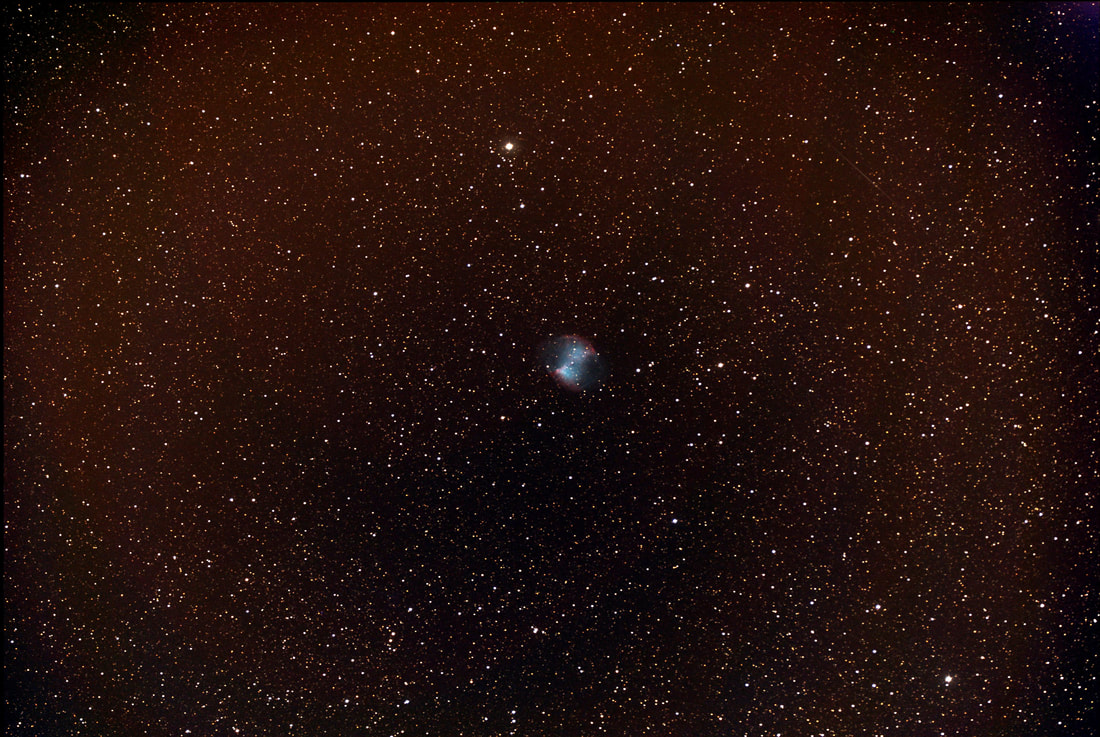
It was cloudy for two weeks after I bought the Hyperstar, so I had time to rebuild the focuser, and make a larger focus knob. So I was ready when the stars finally came out. This is the 'first light' picture from the Hyperstar. 18 pictures, 30 seconds each, taken with a Nikon D80. 10 dark frames and 10 flat frames (dome flats) were used to calibrate the individual shots.
This is the entire picture, no cropping. About 2 degrees by 1.3 degrees. Who knew there were so many stars???
This is the entire picture, no cropping. About 2 degrees by 1.3 degrees. Who knew there were so many stars???
Collimation and focus are not perfect yet, but soon.
