WHAT CAN YOU SEE ?
Home
Photography
Astronomy 1
Astronomy 2
Birds
Bees
The Moon
The Sun
Construction
RCA Model 50
The Dome
Lego
Playhouse
Astronomy
Lunar Prominences
Telescope Control
2017 August Eclipse
Moon Mosaic
Supermoon
Markarian's Chain
Venus Inferior Conjunction
Fun with Software
ETX Deep Sky
Telescope Bits
Eyepiece Photography
Solar Telescope
Hyperstar
Guidescope for LX200
Robofocus on Meade Microfocuser
Solar Filters
Contact
A Playhouse for the kids
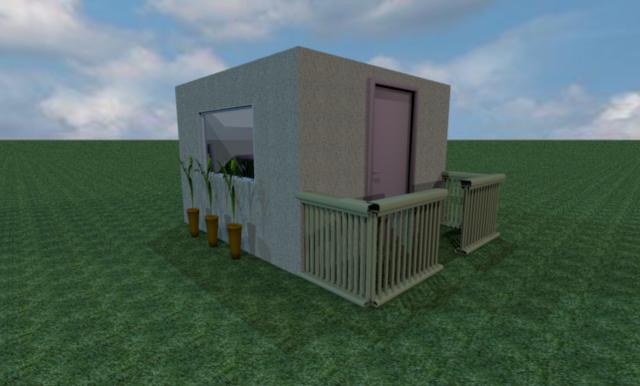
Introduction
This is a simple playhouse. The base is 8’ by 6’. I didn’t want to have the playhouse take up the whole yard. The base is made from 2x6 lumber, supported by concrete blocks. The actual ’house’ is 6’ by 5’. There will be a 3’ deck in front, with an over-hanging roof for some protection from the sun and rain. I used a program called Sweet Home 3D to make a model of the playhouse.
Day 1
Purchased lumber. The wall will be 5’ high rather than 4’. Hopefully, this will make the playhouse useable when the kids get bigger. So I bought 10’ 2x4 lumber. I’m using 5/8 plywood for the floor. I wanted something heavier than 1/2” and 3/4” lumber is just too difficult to move around and cut. I’m using 1/2” plywood for the outside of the playhouse because I couldn’t find 3/8” or 1/4” plywood.
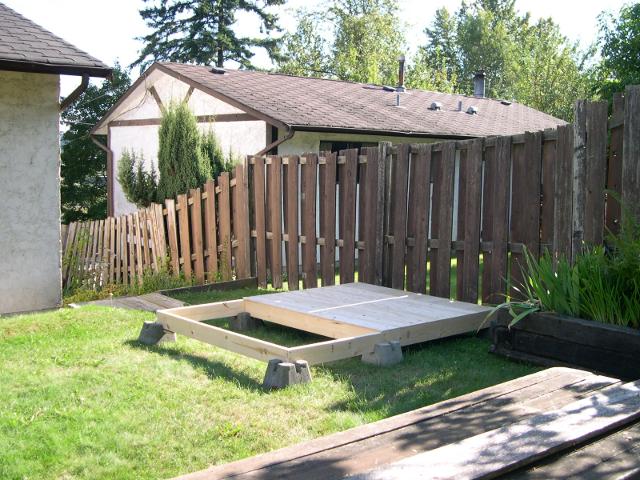
Day 2
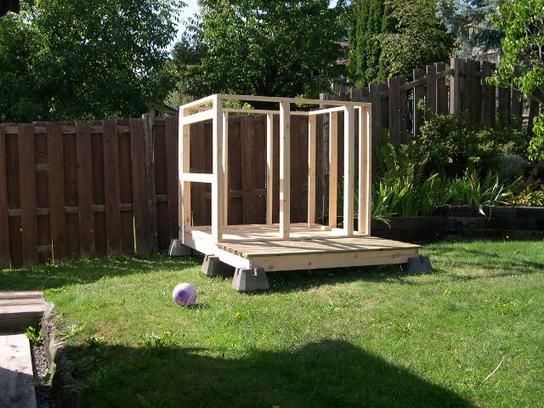
Build the base. Set up the concrete blocks and dropped in the 2x6 lumber. Cut everything for 6’ by 8’ rectangle and then spent about 30 minutes getting everything level with shims. After it was mostly level, I went around and made it square. Unbelievable - I didn’t have to do anything. Then I cut the plywood for the floor of the playhouse. When I was done, I had a single piece of plywood 1’ by 2’... just like I planned.
The open spot in front of the floor is where the deck will be. I still need to pick up some wood for that - probably 5/4 decking which will be lower than the sill-plate so the door wont get stuck on the deck. Please ignore the fence :)
Here’s the drawing of the base.
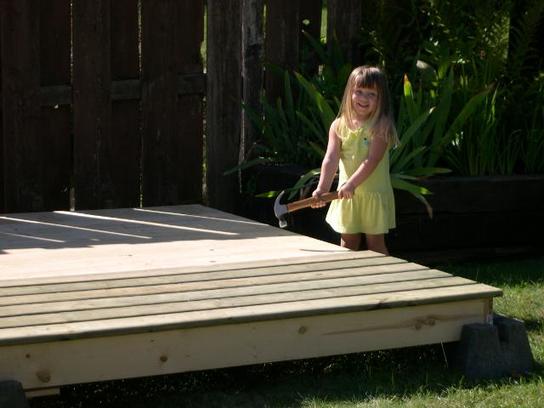
Day 3
We picked up some wood for the deck. 5/4 by 6” by 8’ long. Cut down to 74” for a 1” overhang on each edge. I added a brace down the centre of the deck area to support the middle of all the boards.This is a simple playhouse. Thebase is 8’ by 6’. I didn’t want to have the playhouse take up the whole yard. The base is made from 2x6 lumber, supported by concrete blocks. The actual ’house’ is 6’ by 5’. There will be a 3’ deck in front, with an over-hanging roof for some protection from the sun and rain. I used a program called Sweet Home 3D to make a model of the playhouse.
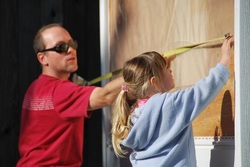
My helper/client brought me coffee and nails.
We also built a couple of walls. They are still in the garage and will get installed tomorrow.
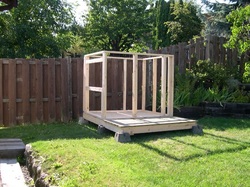
Day 4
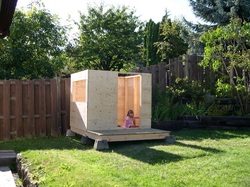
Three of the walls are up. Didn’t take too long. And they’re mostly square and vertical. Now I have to get a window for the last wall. The window will define the structure of the wall.
Day 5
I built the last wall and installed it on the deck. It fits !
Next,
I'll need to install a brace under the floor so it stops bouncing. I’ll do that next time.
After all this, we need a snack.
Day 6
Ok, it’s level now. I shimmed the blocks on the downhill side with some bricks in order to get the floor level. I also installed a brace under the floor so it wouldn’t flex so much.
As usual, my little helper brought nails, scrap wood, and lots of energy to the job site. If I can get the roof on, I can throw a tarp over everything so I’m not working in the rain next week.
Day 7
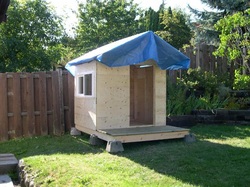
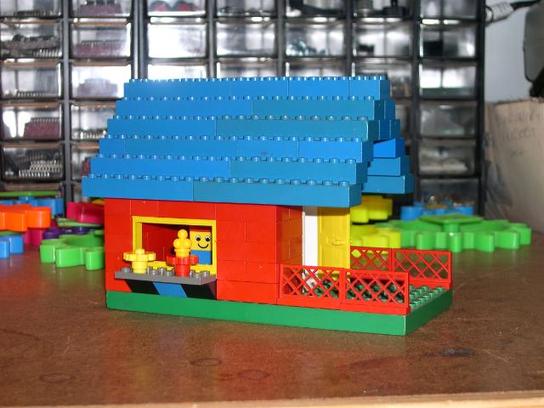
Took a day off to play with lego... all day. Today we put plywood on the walls. Everything is much more solid now. All four walls took just under 3 sheets of plywood (96 square feet). Two walls at 5’x6’ and two walls at 5’x5’, subtract the door (11.7 square feet) and the window (6.7 square feet) and you get 91.6 square feet. A little bit of planning, and I have some wood left over.
The interior decorator is already decorating. There’s a small table, three chairs, and a potty in the corner. The artwork on the wall is custom crayon.
Tomorrow, the roof goes on and the window goes in.
Day 8
The roof is on. The window is installed. I threw a tarp over the roof to keep this week’s rain out. There’s a table and three chairs, some colouring books and some crayons.
The interior decorator is already decorating. There’s a small table, three chairs, and a potty in the corner. The artwork on the wall is custom crayon.
Tomorrow, the roof goes on and the window goes in.
Another Day
We built a 3D model of the playhouse with the world’s greatest prototyping tool.
A Few Days Later
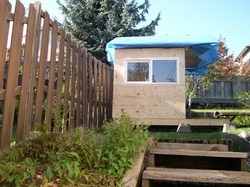
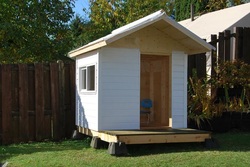
Vinyl siding keeps everything dry. I covered the roof with more plastic and then vinyl siding. The roof is bright white so it reflects the sunlight in the summer and it doesn’t radiate heat in the winter. There’s a clear plastic shed vent in the roof to allow air to circulate and to act as a bit of a skylight.
Finishing Up
I added a door made from scrap pieces of wood and some translucent plastic to let some light through. The door has a magnetic catch to keep it closed. And a steering wheel was added at the request of my son.
I covered the roof with more plastic and then vinyl siding. The roof is bright white so it reflects the sunlight in the summer and it doesn’t radiate heat in the winter. There’s a clear plastic shed vent in the roof to allow air to circulate and to act as a bit of a skylight.
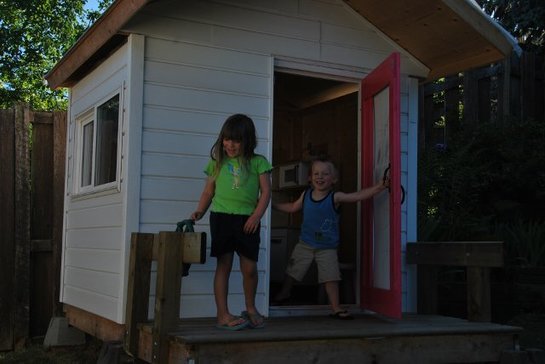
The kids spend a lot of time in there in the summer and they have a table, chairs, and an Ikea kitchen and too many plastic plates and cups to play with. Lots of fun for everyone. In the summer, the deck is shaded by the overhanging roof too.
All pictures and text Copyright
Eric Fuller
.