Comparison of photographs through different eyepieces using an iPhone.
In order to get a quick picture with a phone camera (in this case an iPhone SE2) just hold it up to the eyepiece and click. All the pictures on this page were taken with a Meade 14" SCT telescope. Affinity Photo was used to make adjustments and convert jpg.
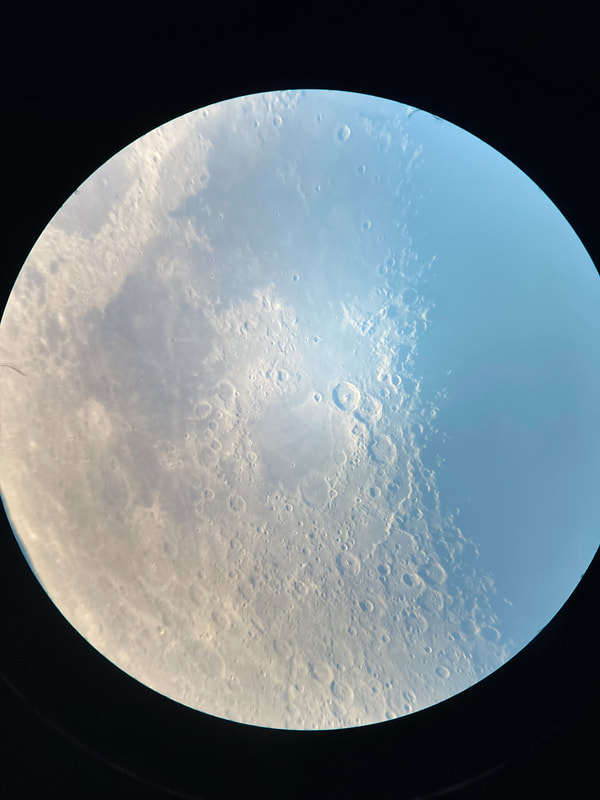
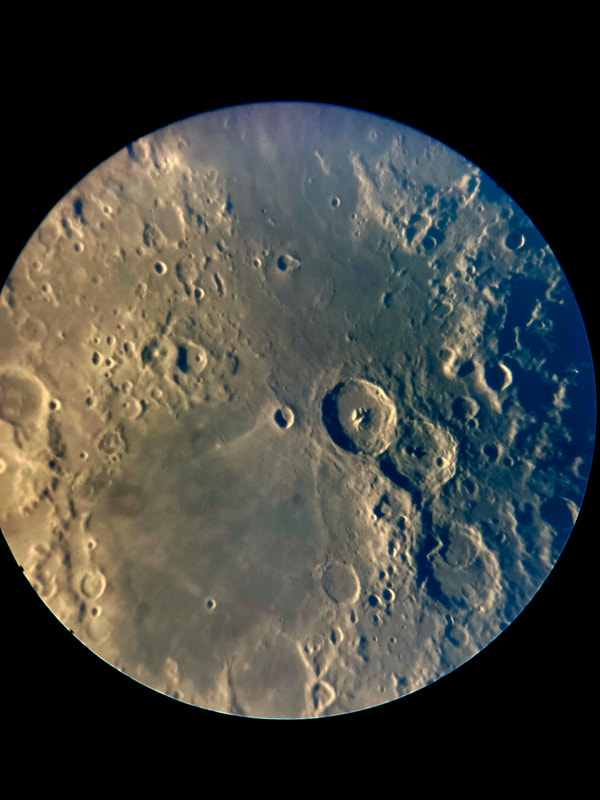
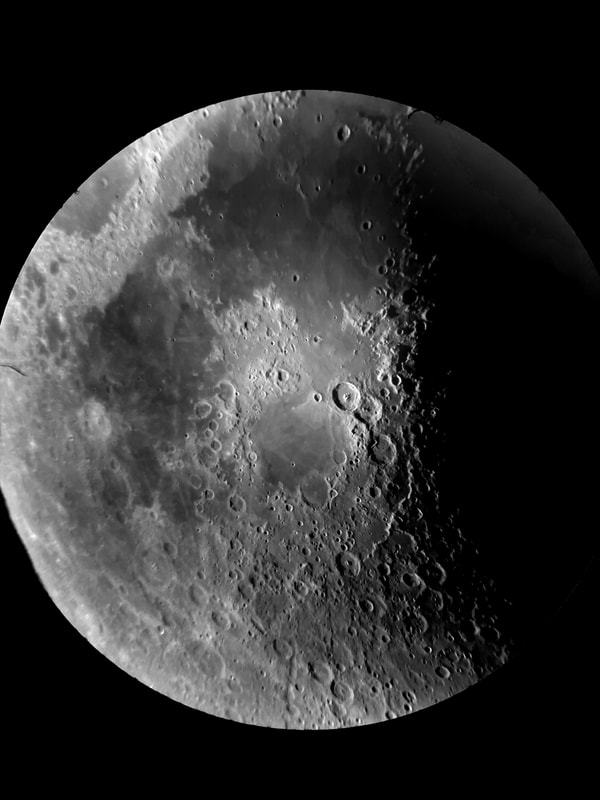
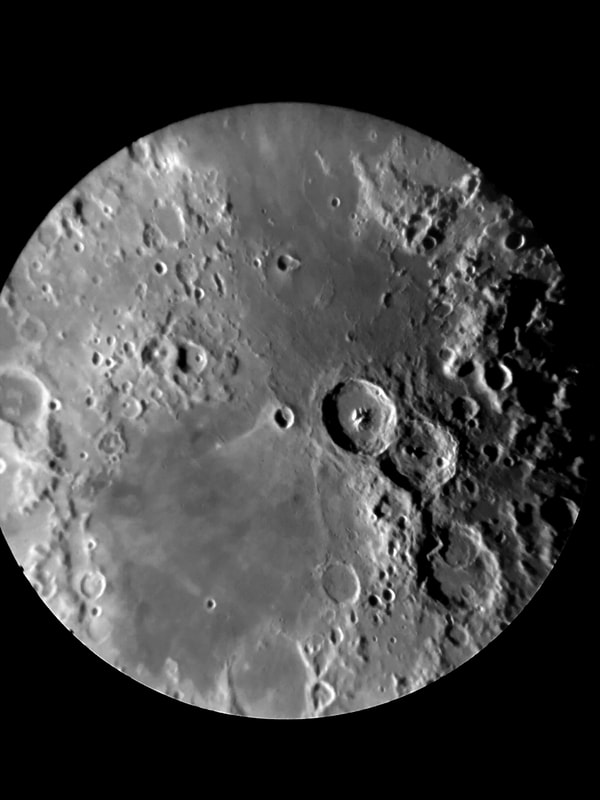
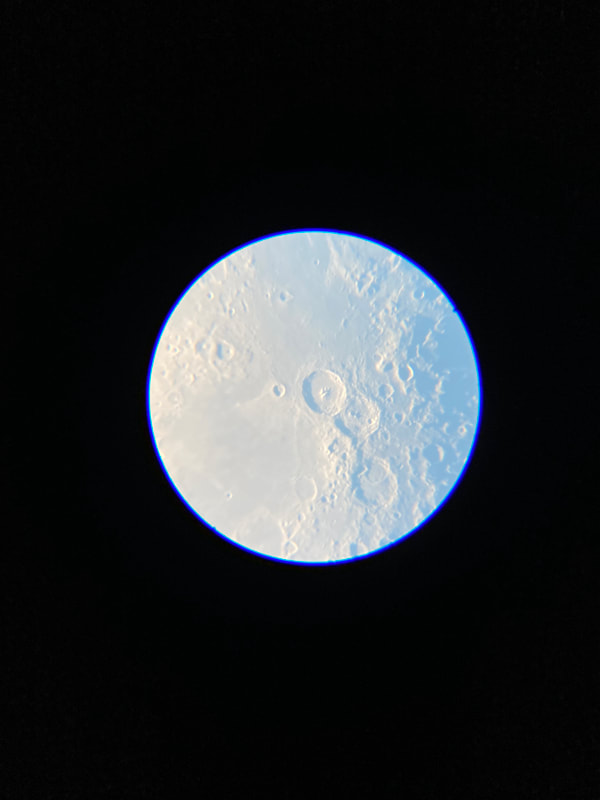
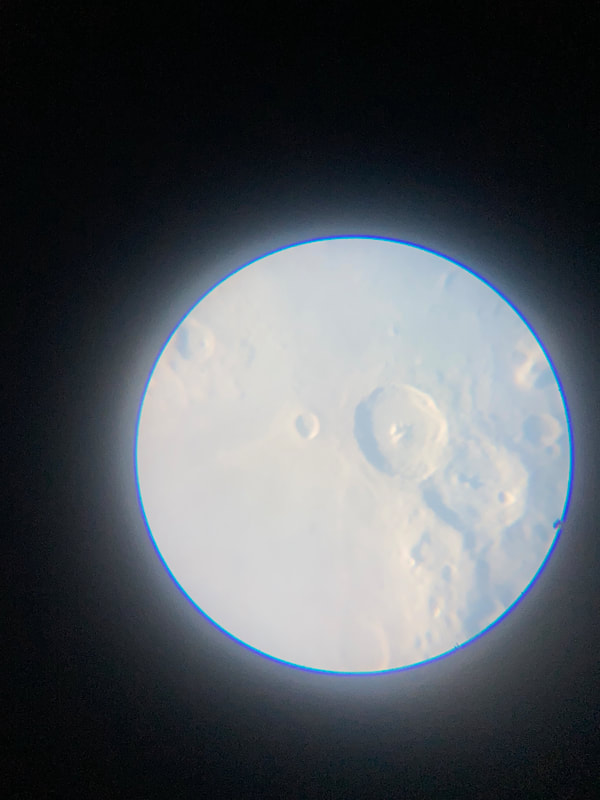
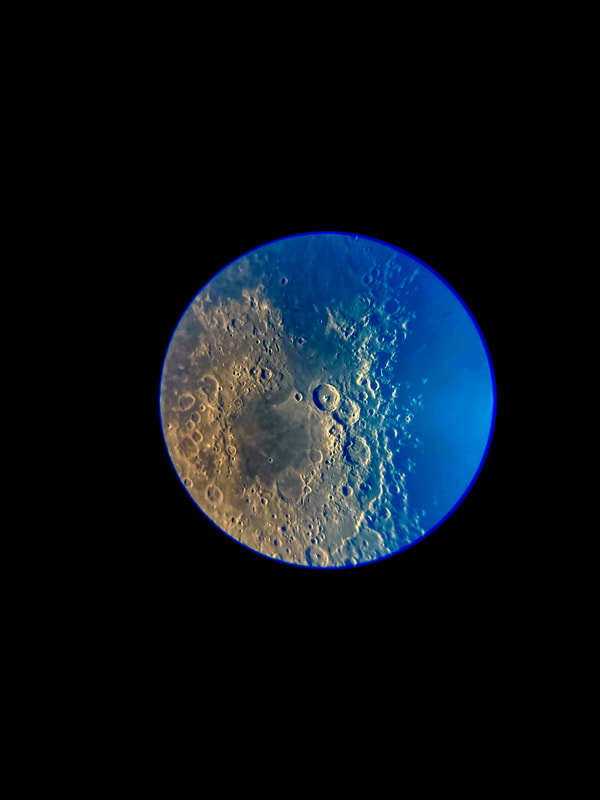
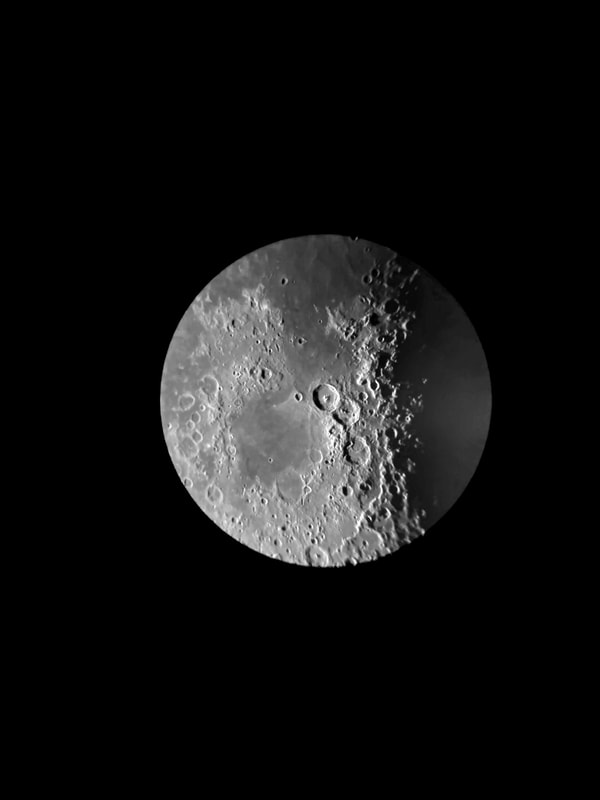
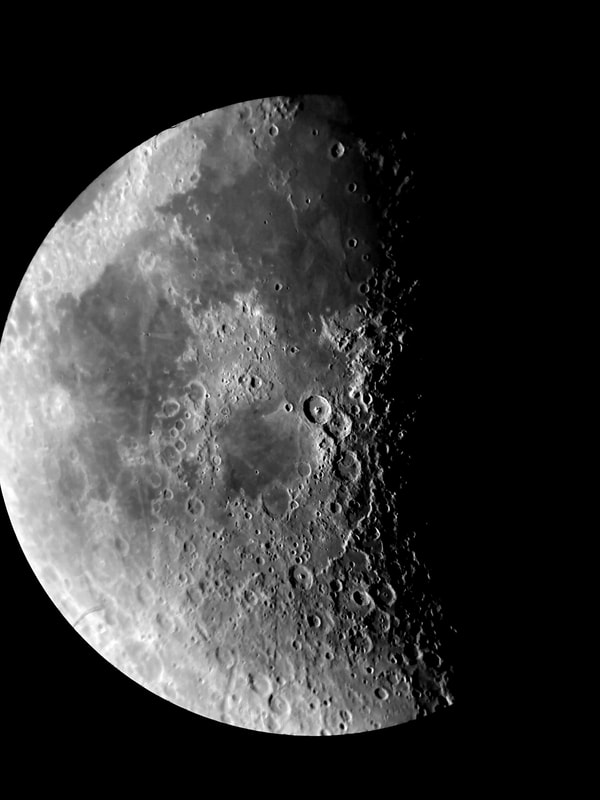
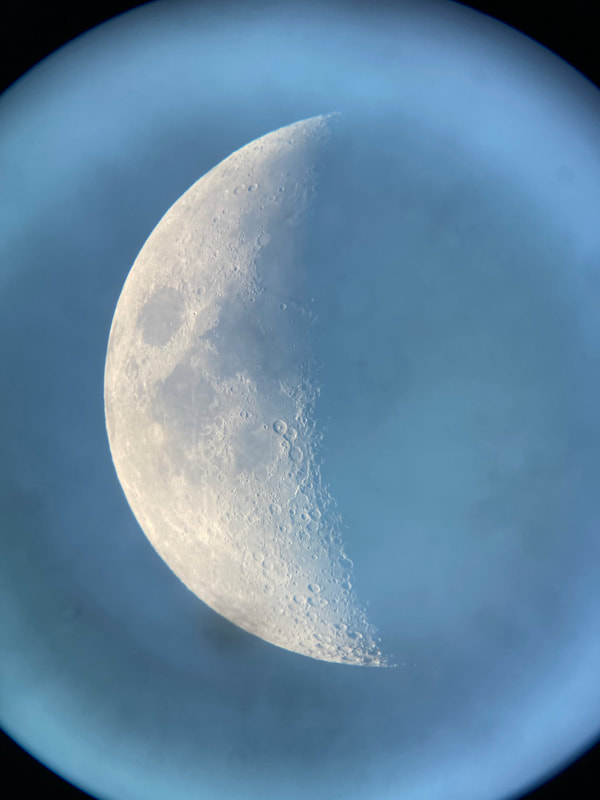
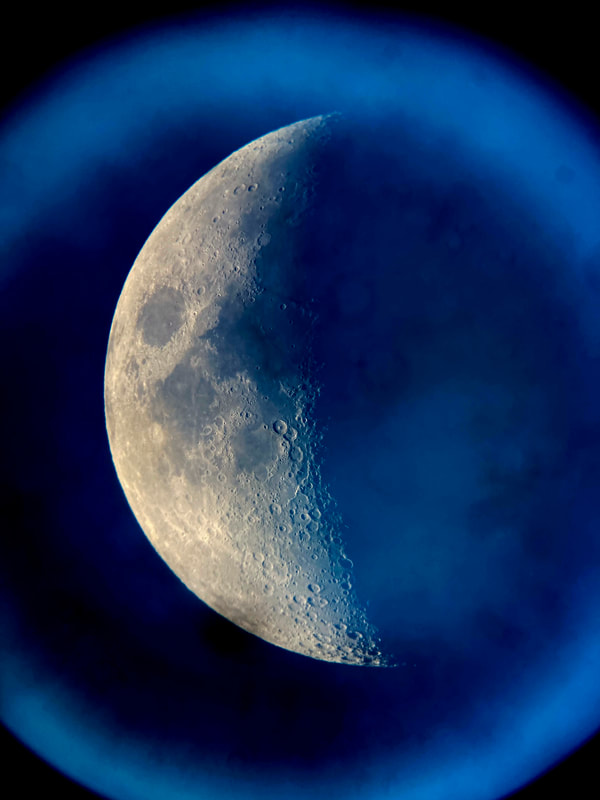
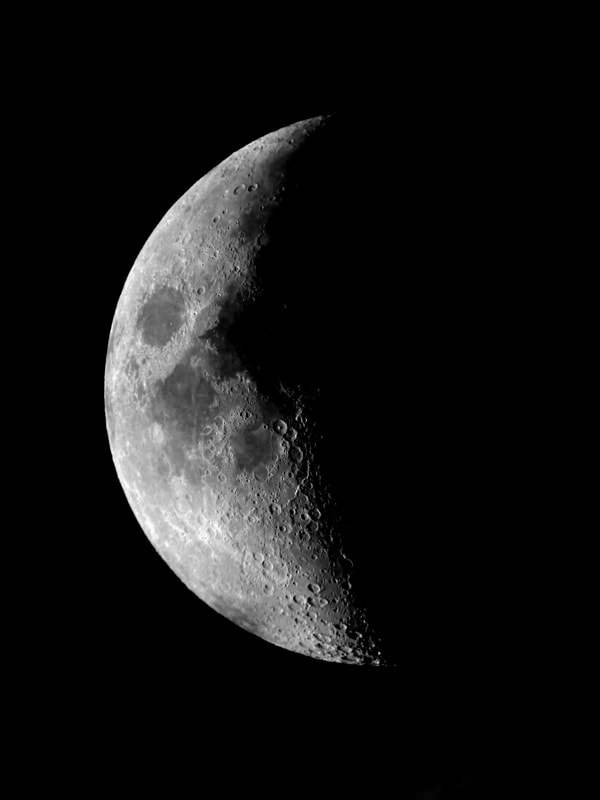
These are Antares Plossl eyepieces, 20mm, 10mm, 7.5mm from left to right. The top row is directly out of the phone. The middle row has the black level raised in order to reduce the effect of the blue sky. You can easily see a bit of chromatic aberration and some distortion in the eyepieces. The bottom row is only the red channel, with the black level raised. For all the pictures on this page (except the last one at the bottom) there were no changes to contrast/brightness.
These are Antares Plossl eyepieces, 20mm, 10mm, 7.5mm from left to right. The top row is directly out of the phone. The middle row has the black level raised in order to reduce the effect of the blue sky. You can easily see a bit of chromatic aberration and some distortion in the eyepieces. The bottom row is only the red channel, with the black level raised. For all the pictures on this page (except the last one at the bottom) there were no changes to contrast/brightness.
|
|
|
|

|
|
|

|
|
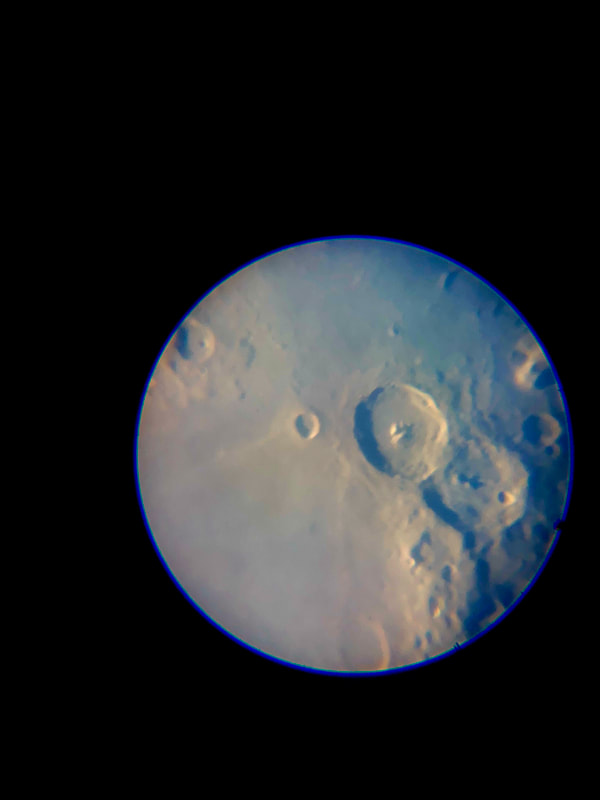
Using just the red channel makes a much better picture - it removes the chromatic aberration and the blue sky. At higher magnifications, the eyepiece distortion becomes more obvious.
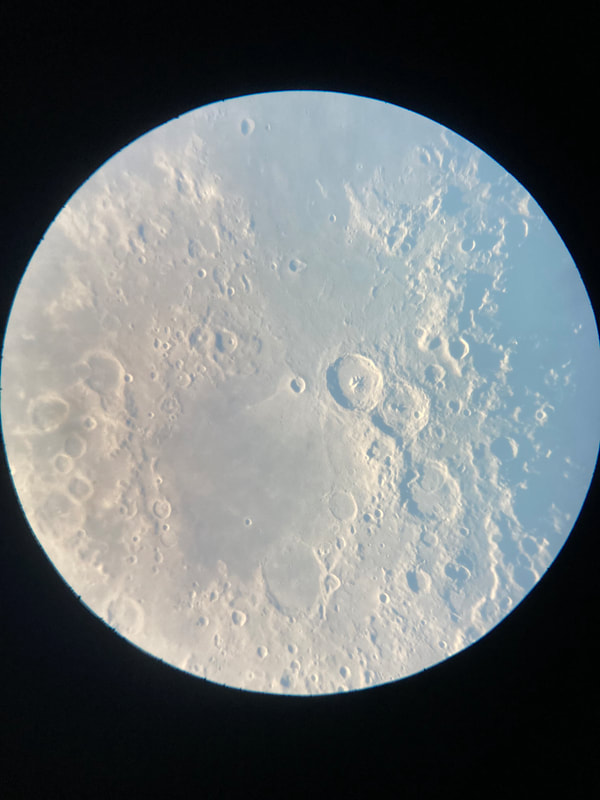
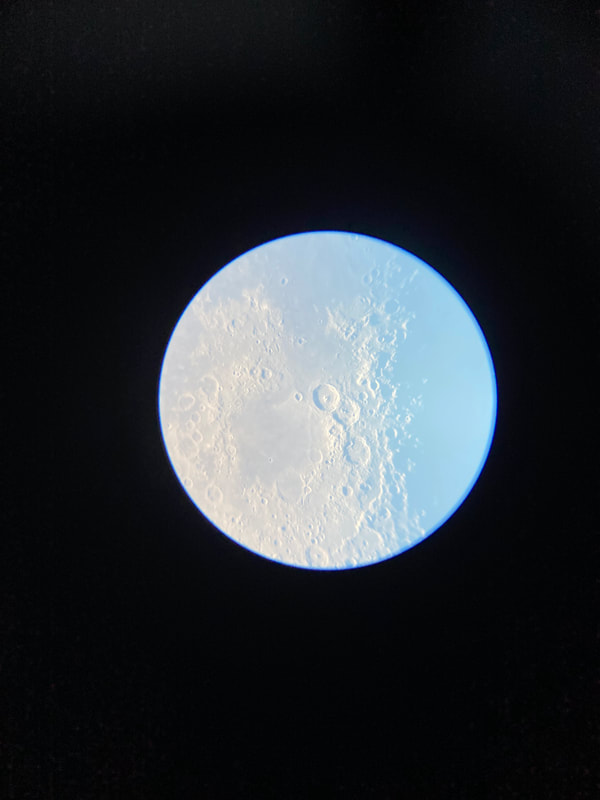
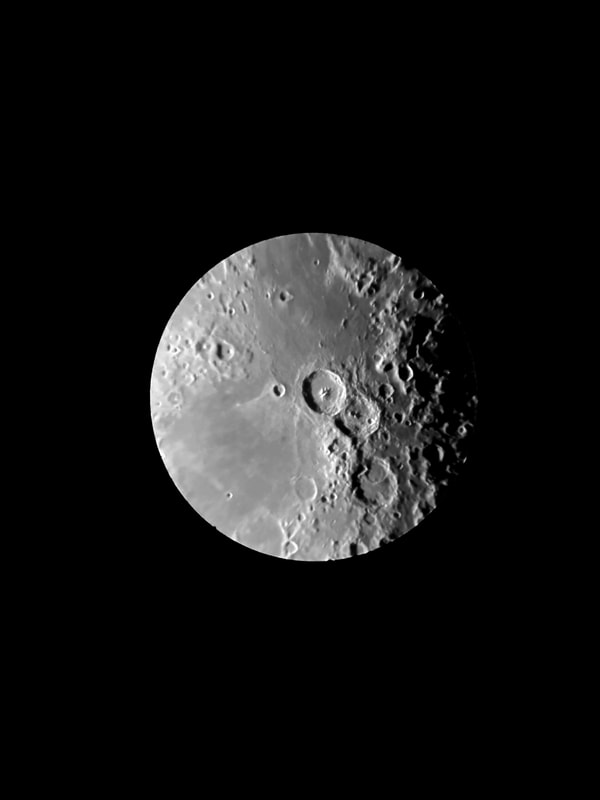
The next images are with a set of simple eyepieces that come with inexpensive telescopes. From left to right: 20mm Huygens, 12.5mm Huygens, and 4mm Symmetric Ramsden. From top to bottom: straight out of the iPhone, black level raised, red channel only.
The next images are with a set of simple eyepieces that come with inexpensive telescopes. From left to right: 20mm Huygens, 12.5mm Huygens, and 4mm Symmetric Ramsden. From top to bottom: straight out of the iPhone, black level raised, red channel only.
|
|
|
|

|
|
|
|
|
The less expensive eyepieces have a narrower field of view, so give a smaller image circle on the camera. They also have more chromatic aberration. They are certainly useable at lower magnification. The 4mm might be too much.
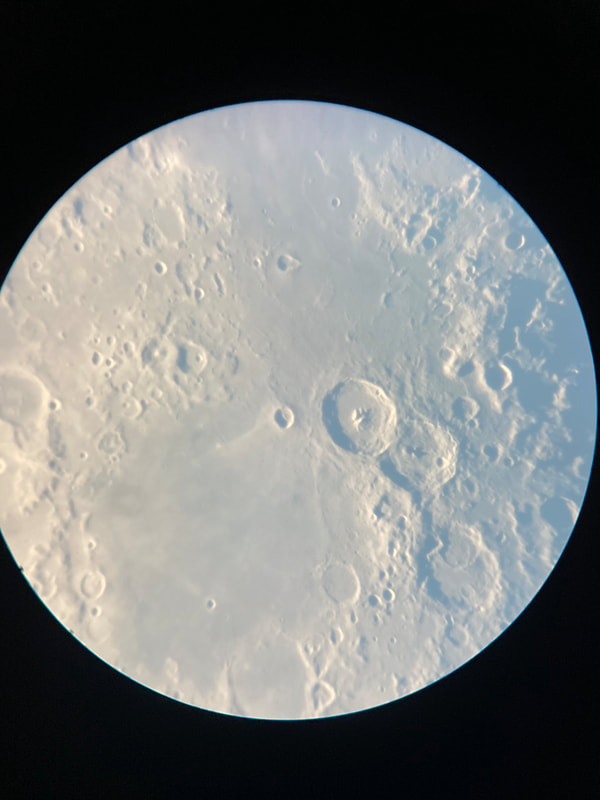
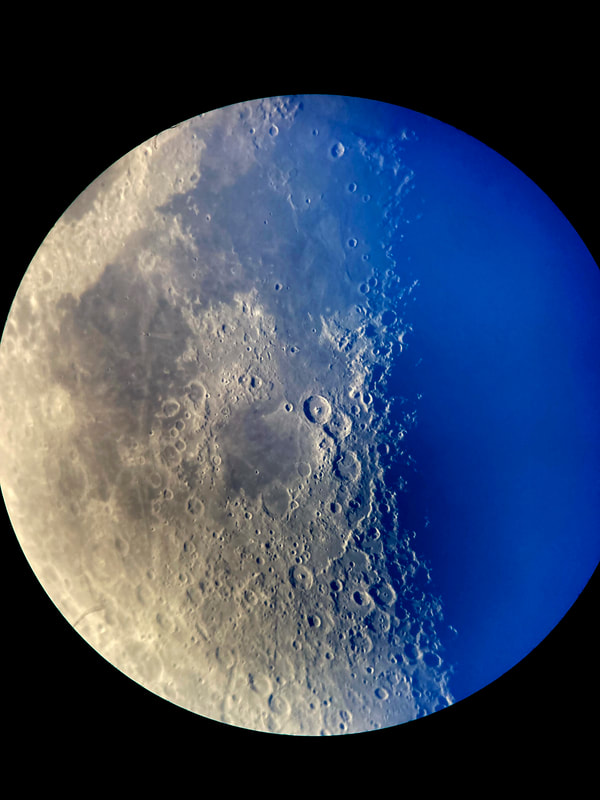
The next pictures are taken with the 20mm and 10mm Plossl eyepieces, but a polarizer has been added. The polarising filter was threaded into the bottom of the eyepiece, then the eyepiece was rotated to get the blue sky as dark as possible.
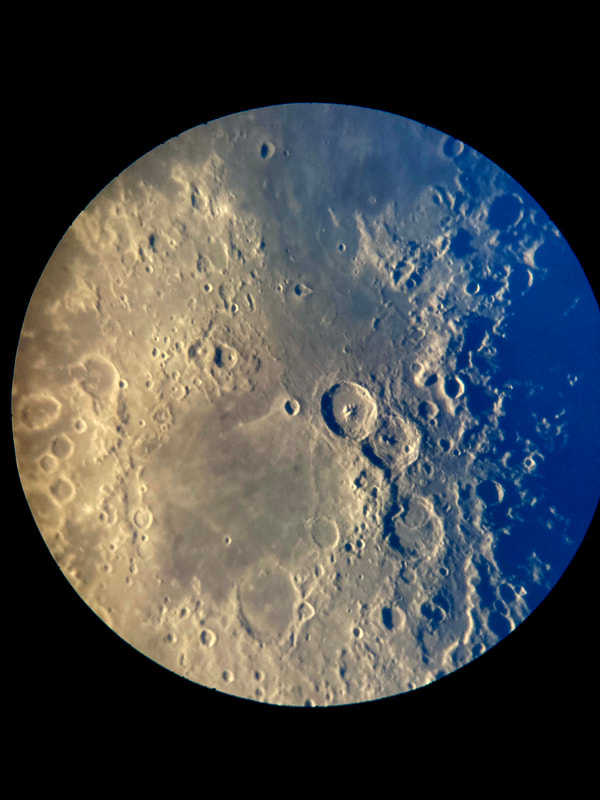
The top row is the 20mm Plossl eyepiece, the bottom row is 10mm with polariser. From left to right, without polariser, with polariser, red without, red with. The polariser removes a lot of the blue sky, especially the hot spot in the middle of the field. At night, with no blue sky, the polariser doesn't help.
The next pictures are taken with the 20mm and 10mm Plossl eyepieces, but a polarizer has been added. The polarising filter was threaded into the bottom of the eyepiece, then the eyepiece was rotated to get the blue sky as dark as possible.
The top row is the 20mm Plossl eyepiece, the bottom row is 10mm with polariser. From left to right, without polariser, with polariser, red without, red with. The polariser removes a lot of the blue sky, especially the hot spot in the middle of the field. At night, with no blue sky, the polariser doesn't help.
|
|
|
|
|
|
|
|
|
|
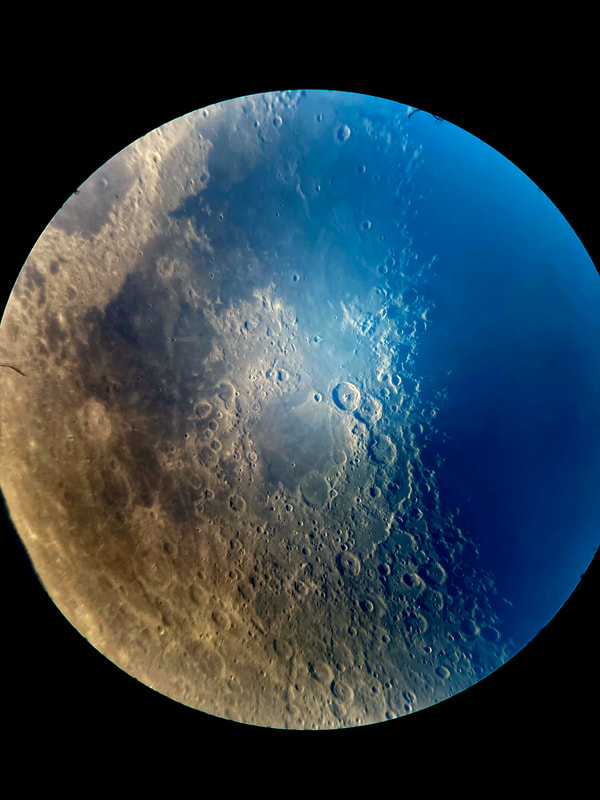
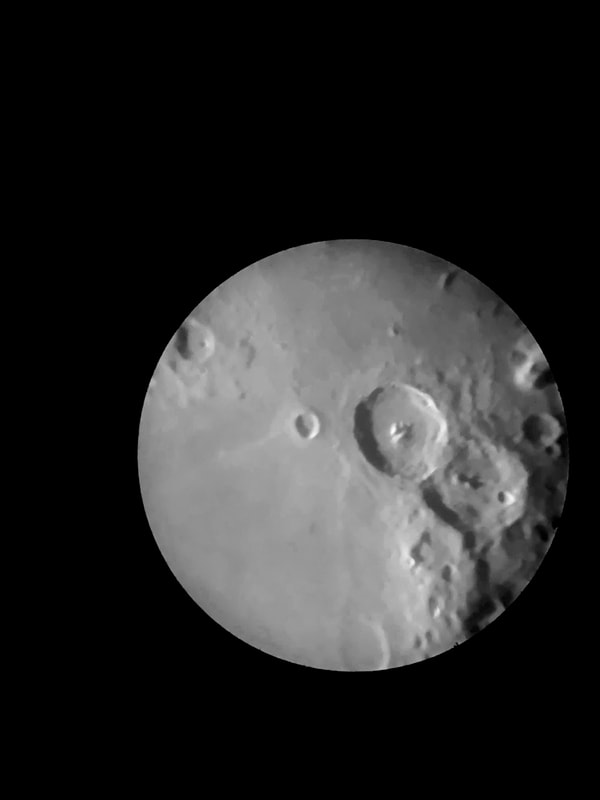
Here's a couple of closeup shots. 20mm Plossl with polariser.
|
|
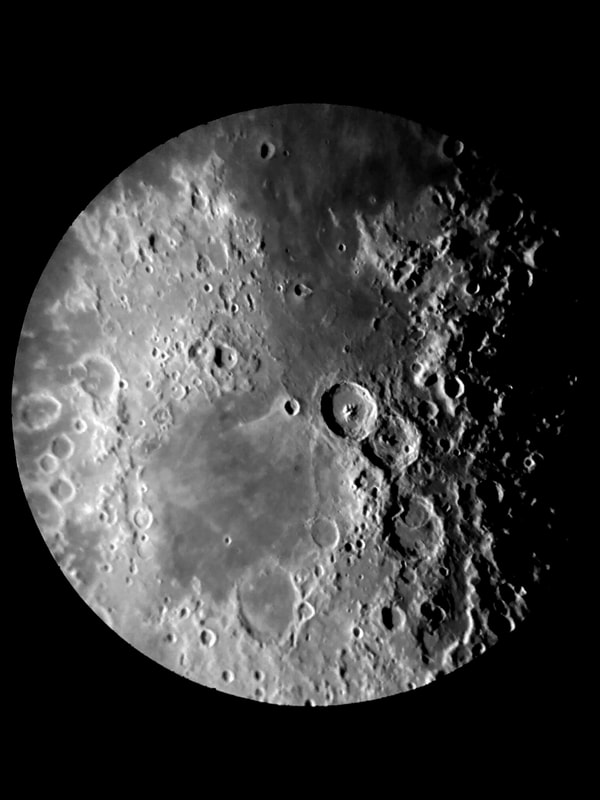
Just for fun, here's a Meade 40mm super-wide eyepiece.
|
|
|
Low power eyepieces can provide really goo pictures for a phone, probably good enough to show off with 8x10 prints.
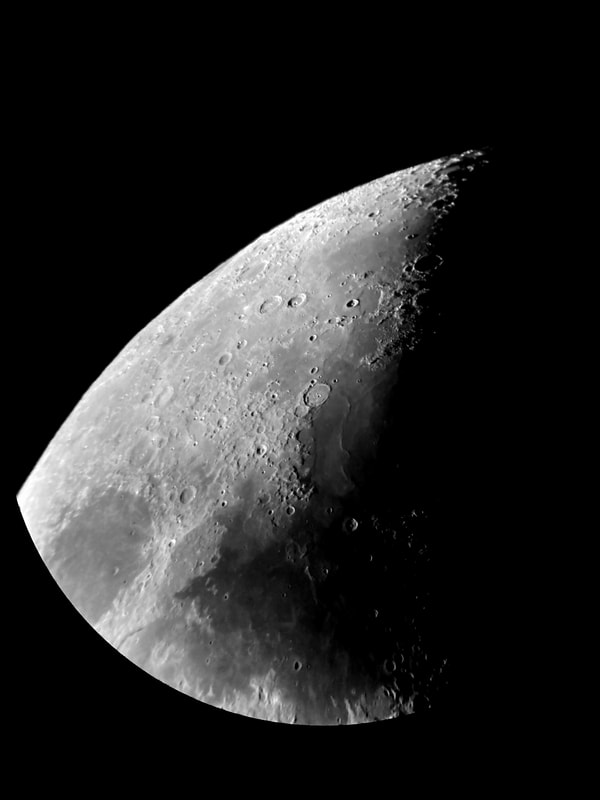
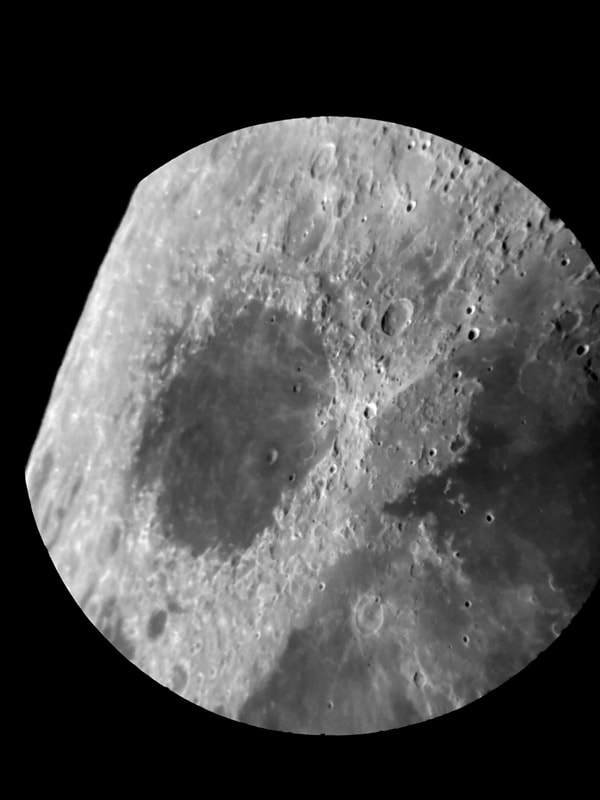
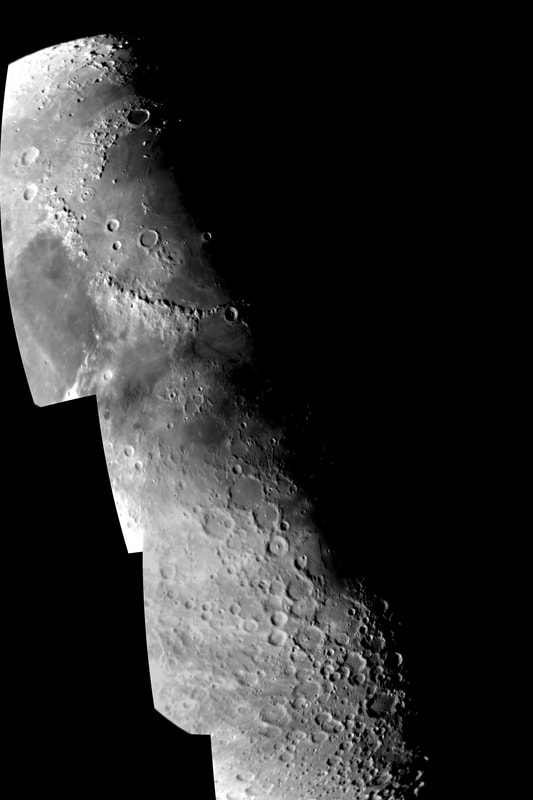
For more fun, you can stitch together a bunch of pictures. These were taken with a Televue 18mm Radian eyepiece. 4 pictures stitched together using Autostitch on the phone. Red channel only (using the "Noir" colour setting in Photos), and contrast/brightness adjusted.
For more fun, you can stitch together a bunch of pictures. These were taken with a Televue 18mm Radian eyepiece. 4 pictures stitched together using Autostitch on the phone. Red channel only (using the "Noir" colour setting in Photos), and contrast/brightness adjusted.
How do we get a reasonable picture through the eyepiece?
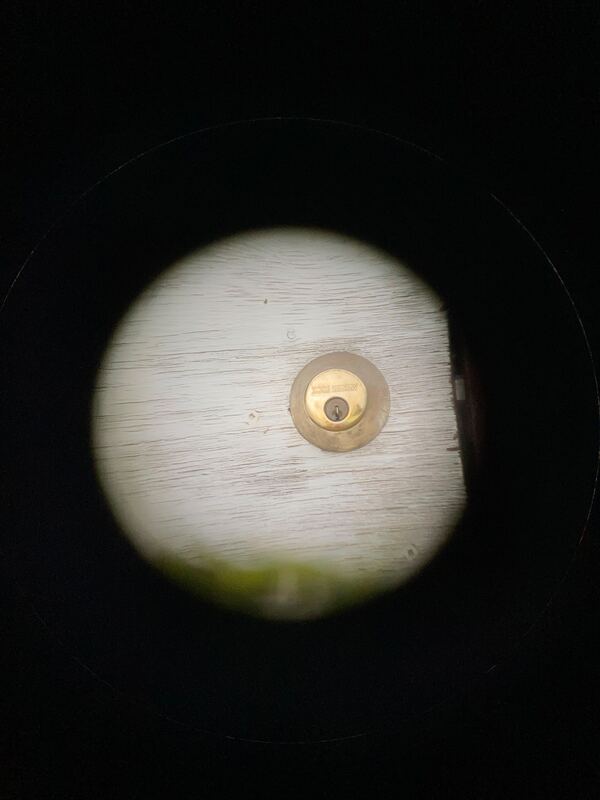
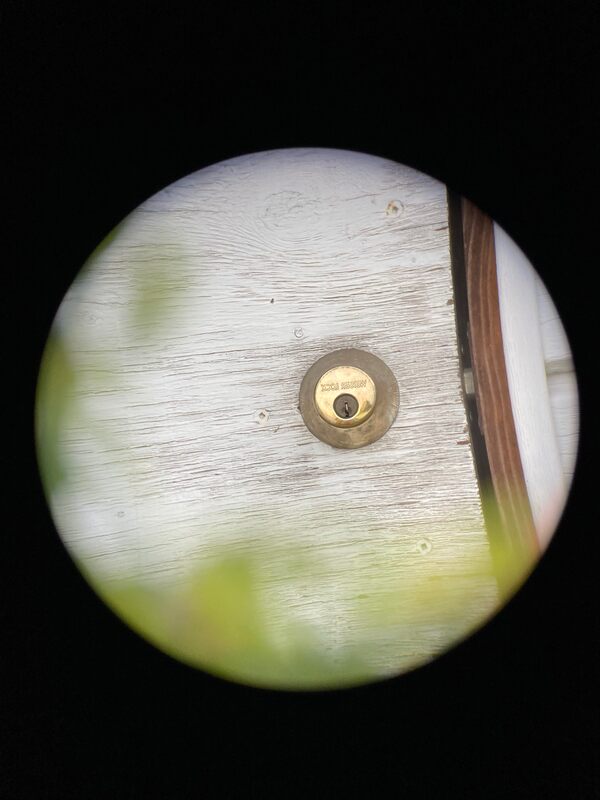
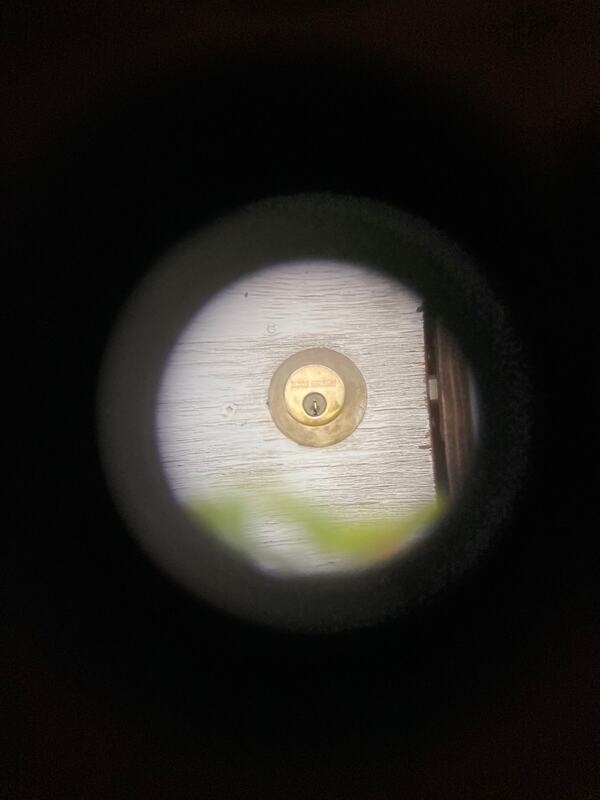
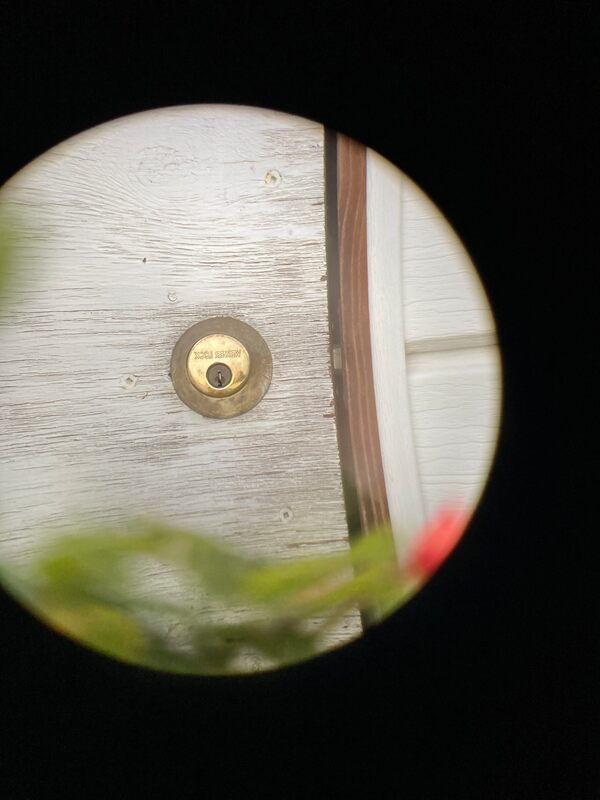
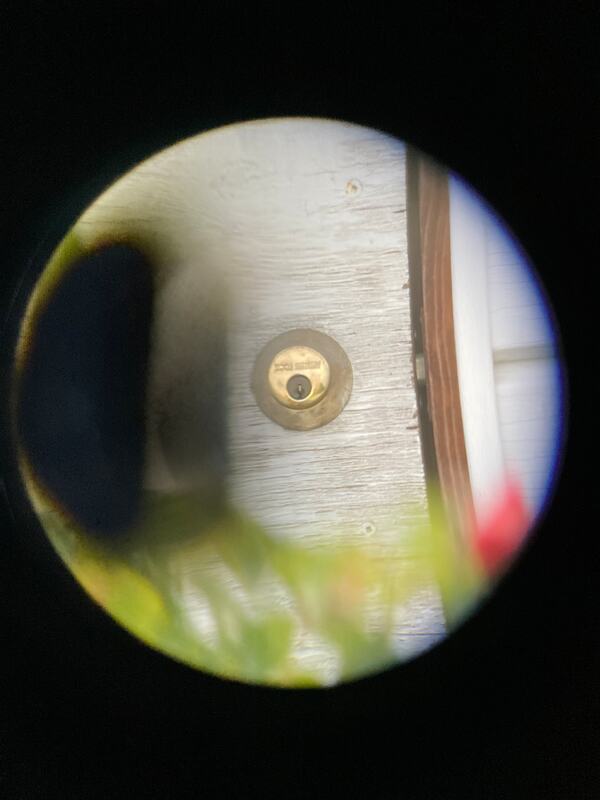
First, how far from the eyepiece do we need to be? We are trying to match the exit pupil of the eyepiece with the entrance pupil of the phone camera. From left to right: too close, just right, too far. We're trying to get a large image circle with a crisp edge.
(these pictures were taken with an ETX-90 and a Meade 32mm Plossl eyepiece)
|
|
|
Once we have the correct distance, we need to get the optical axis of the phone camera aligned with the optical axis of the telescope. On the left, the phone is tilted; on the right, the phone is shifted. We want the image circle in the centre of the camera, and even illumination of the field - no kidney bean.
|
|
Try some different eyepieces, see what works best. On the left is the 32mm Plossl, on the right is a 20mm Plossl.
|
|

|
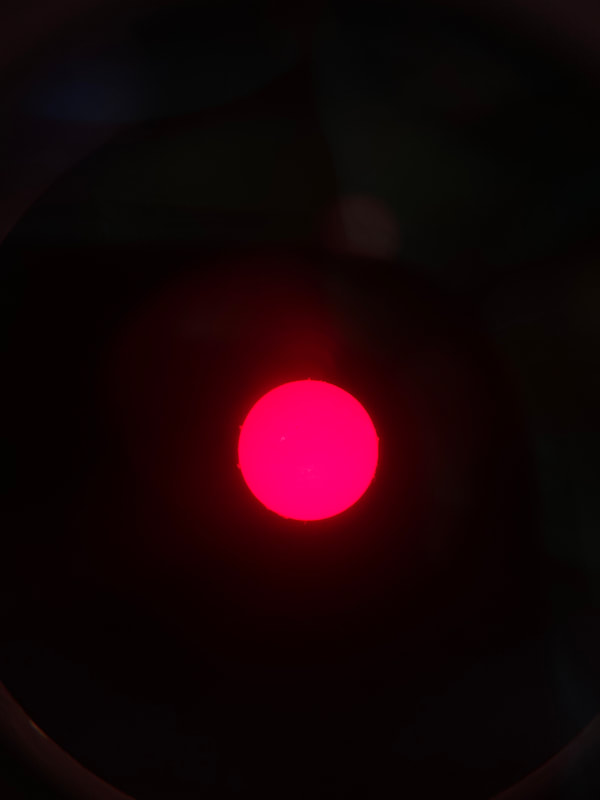
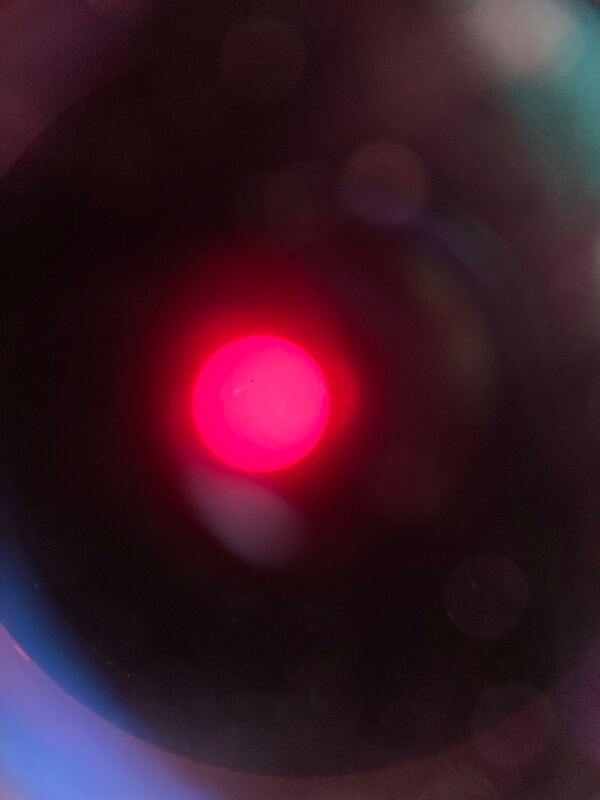
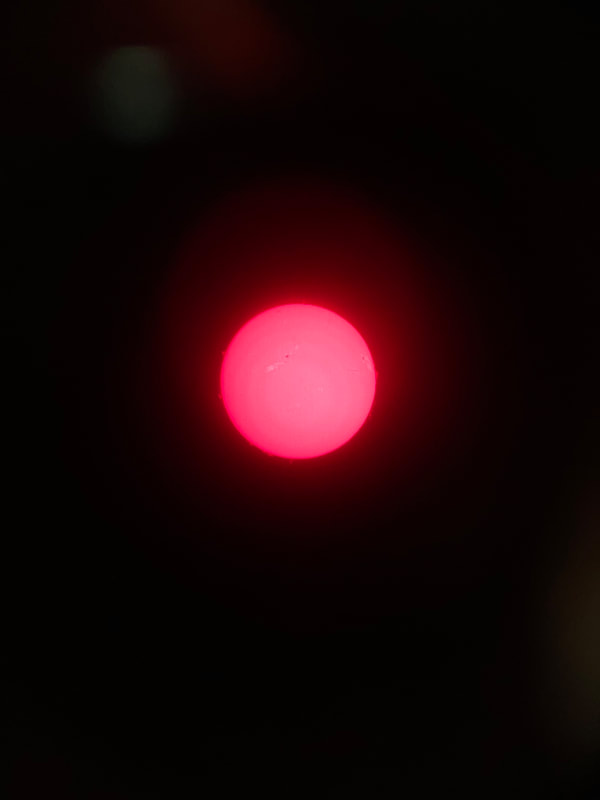
The 14" SCT and even the ETX have lots of focal length, so the Moon is huge - it fills the entire eyepiece. When using something smaller, like a Lunt 40mm solar telescope, the Sun doesn't fill the eyepiece. Now we're fighting the camera software. We have a bright blob, with lots of dark space around it and on top of that, the phone is guessing about the white balance, which is going to be way off because you've got a monochromatic image to start with. There's also some other magic we don't know about and don't have any control over.
Reduce the exposure time, then the limb of the Sun won be overexposed and you can see if it's focused. It takes some practice to get the distance, shift, tilt, exposure all good at the same time. There are some telescope shops that sell a phone adapter - it has a Fram that holds the phone and a clamp that holds the eyepiece. you can make adjustments to get all the mechanical stuff right - then you only have to worry about exposure.
Reduce the exposure time, then the limb of the Sun won be overexposed and you can see if it's focused. It takes some practice to get the distance, shift, tilt, exposure all good at the same time. There are some telescope shops that sell a phone adapter - it has a Fram that holds the phone and a clamp that holds the eyepiece. you can make adjustments to get all the mechanical stuff right - then you only have to worry about exposure.
|
|
|
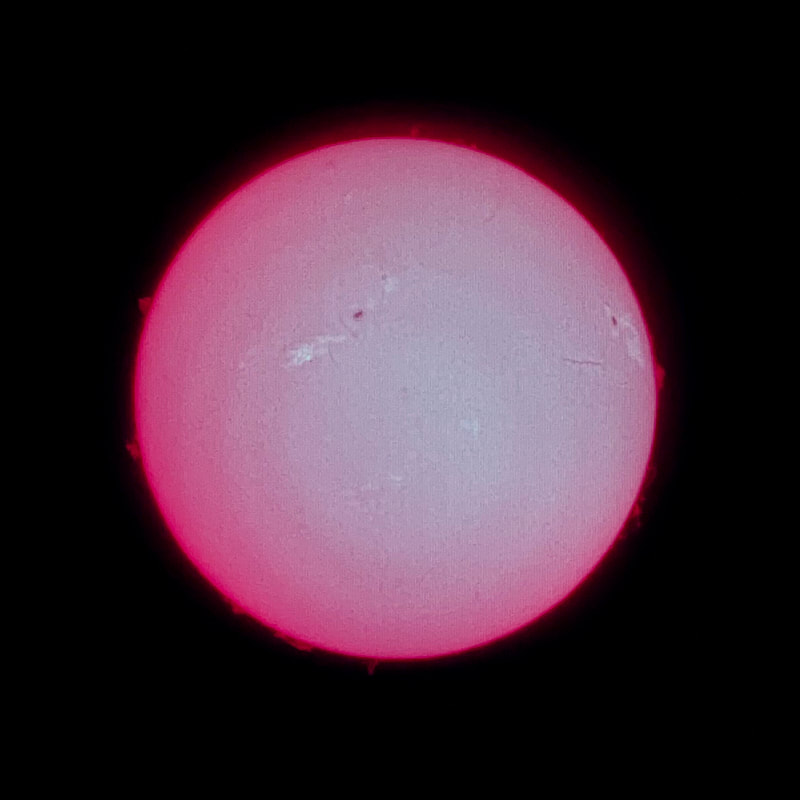
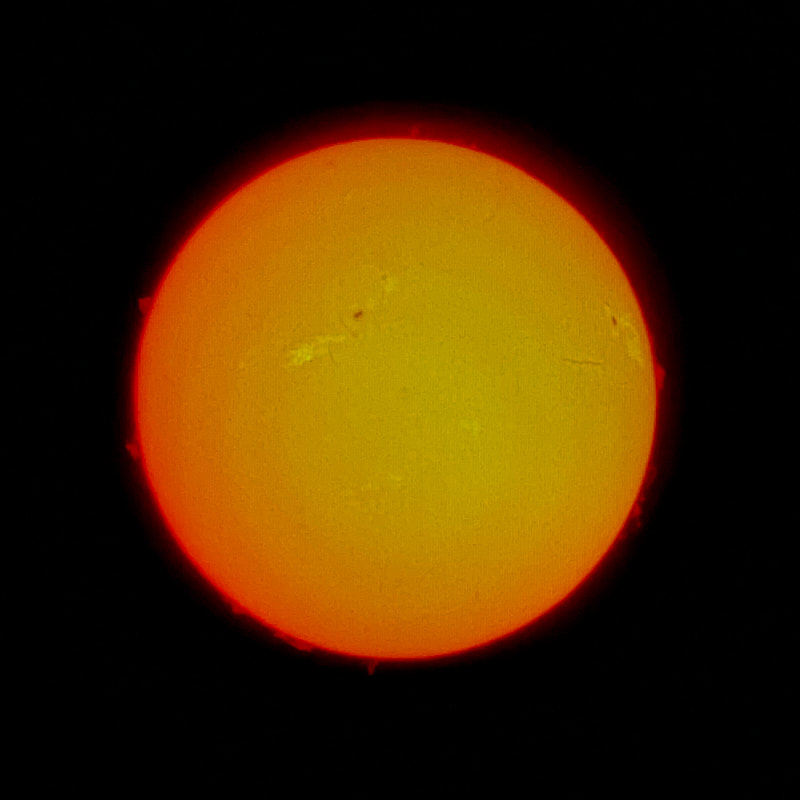
Once you get a good picture on the phone, you can fix it up. On the left is contrast/brightness/black level. On the right, the blue channel has been removed, and the colour adjusted. Have fun !
|
|
